Knife Handling Overview
Learning how to make a knife handle may be one of the last steps in the knife making process, but it’s an important one that can take a while.
There have been many times when making knives that handling the knife took longer than the bladework.
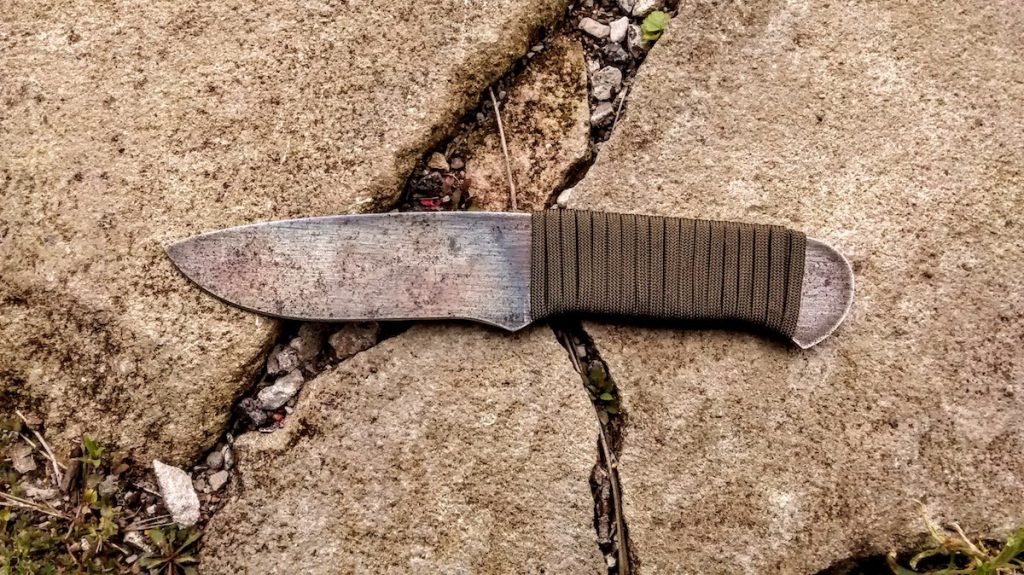
Your first knife’s handle can be as simple as parachute cord or as sturdy as solid wood.
For this guide, we’ll use wood. Specifically oak trim that is cheaply and easily purchased at Lowe’s or a similar store.
Prepping Your Knife Blank for the Handle
When we hardened the blade, you will remember that we didn’t quench the tang or handle portion of the metal.
By leaving this out of the oil, it stayed soft enough to drill our holes for pins.
*Note: If you don’t have a drill press or power drill, you do not need to drill holes and set pins to make a great, functional knife.
Setting the Pin Holes

I prefer full tang knives. This means the steel goes all the way through the handle and is set with metal pins to secure it.
With modern adhesives and epoxies, it is not strictly necessary to add pins to your knife handle.
However, I like the way it looks and it’s traditional so we’ll do it for this knife.
Depending on length, two pins will usually secure a blade and its wooden handle. A third pin is added insurance against movement.
Our bushcraft style knife will have three pins.
For my knives, I mark 1/2-inch from the butt of the knife and 1/2-inch from the bolster and then split the difference for the middle pin’s location.
I mark each spot with a center punch and then drill them out using a drill press.
This can also be done with a powered hand drill. (If you don’t have a power drill, remember that drilling holes is optional.)
Steps for Pin Holes:
- Measure out the locations of your pin holes.
- Mark them with a pencil or marker.
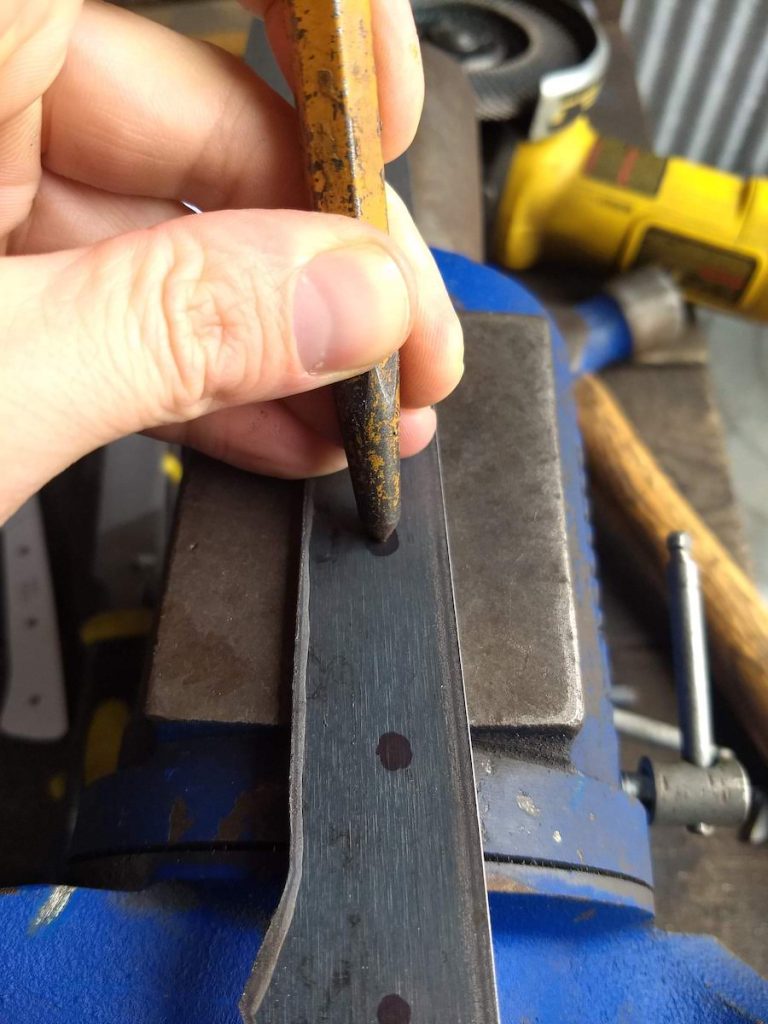
- Use a center punch to create a divot to guide the drill bit.
- Drill the holes to the diameter of your pins. (We’ll discuss diameters shortly.)
- File down any burrs/rough edges around the holes so the wood scales will fit securely.
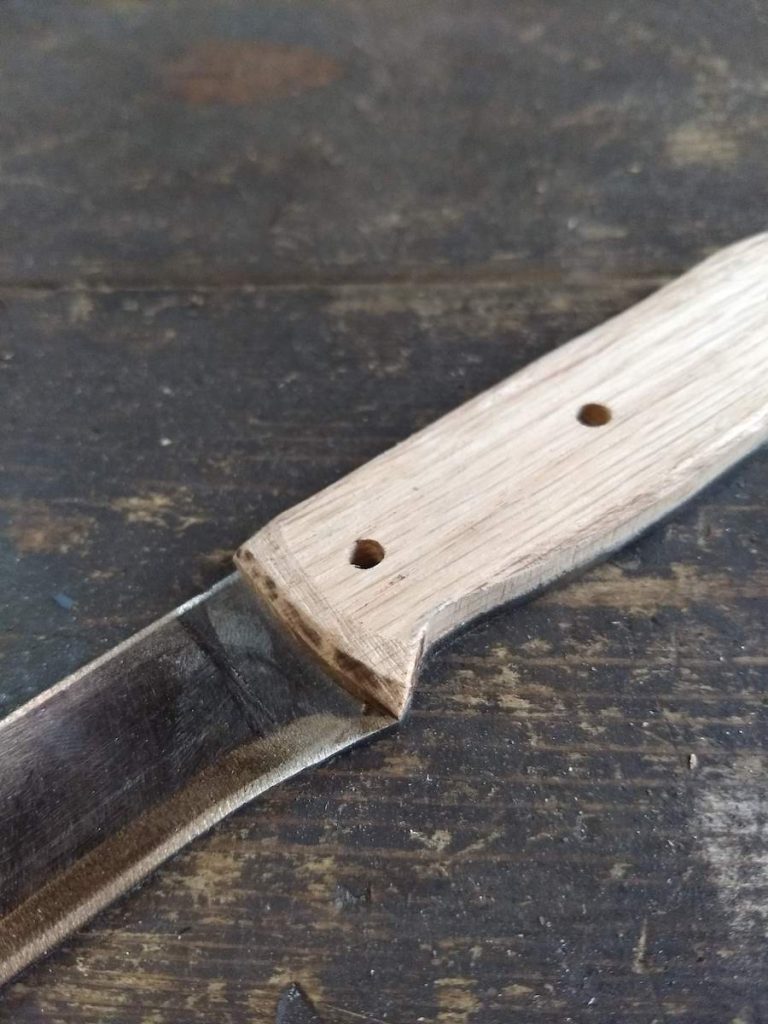
See the photo below for how to mark the holes with a center punch:
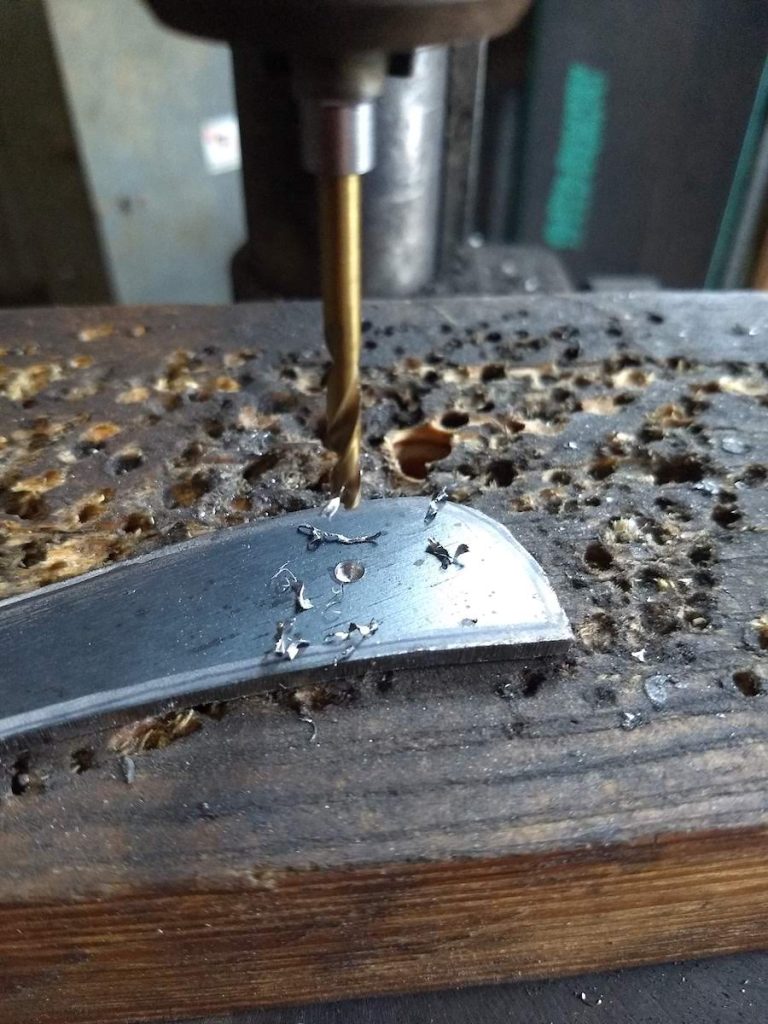
The photo below shows how we can use a drill press at low speed to drill out the holes.
A Note on Pin Diameter
Your pin diameter can vary depending on the following:
- The size of your knife.
- The number of pins you’re using.
- The length of the handle.
Pins that are 3/16-inch to 1/4-inch diameter work great for most of the knives I make.
How do you make knife handle pins?
I use steel or brass round rod in the diameter I need and then cut it to length.
I have to keep in mind how thick my finished handle will be and cut the pins a little long.
They will be ground down later to be flush with the handle.
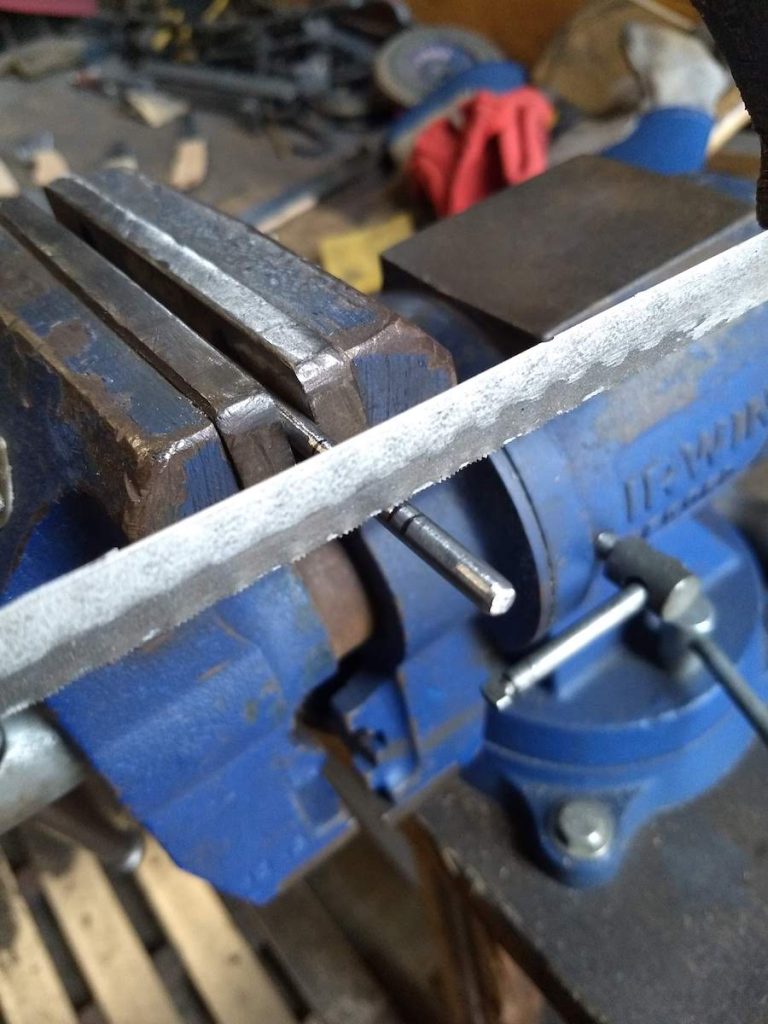
You can cut steel and brass round bar with a hacksaw, angle grinder, or using a band saw with a metal cutting blade. (Note: The teeth on wood cutting band saw blades are spaced too far apart and are very dangerous for cutting anything except wood.)
Because the pin stock is so small, a hacksaw seems to work best.
I used 3/16-inch round steel rod for my pins – shown below.
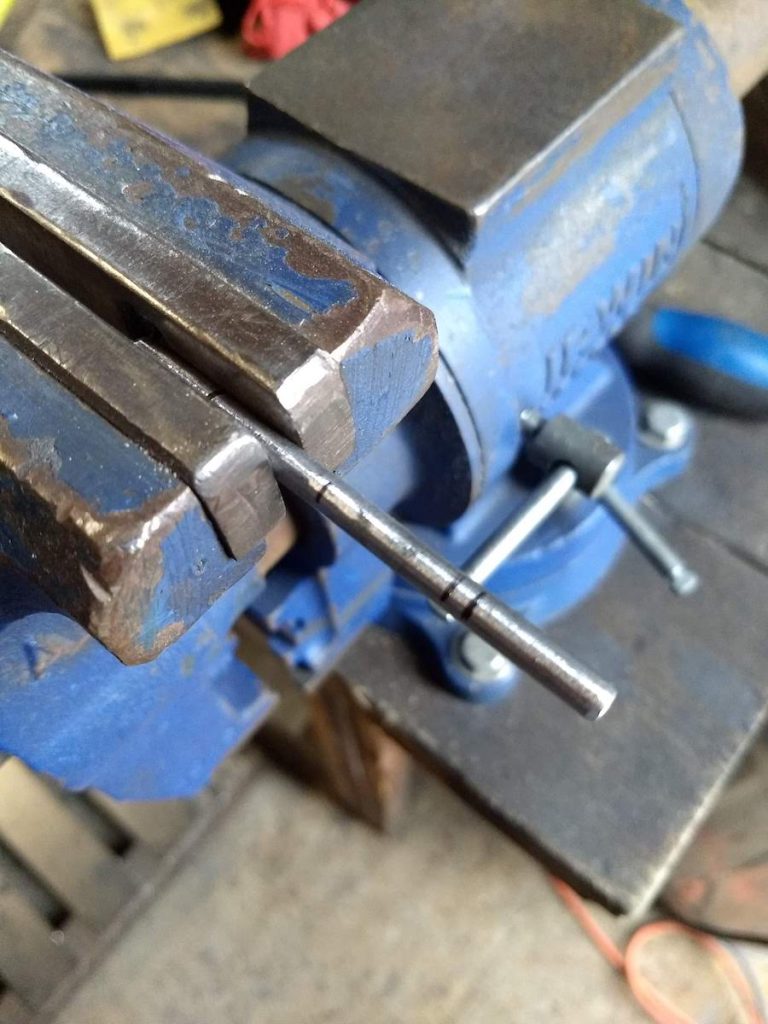
I marked off three 5/8-inch long segments and cut them off with a hacksaw.
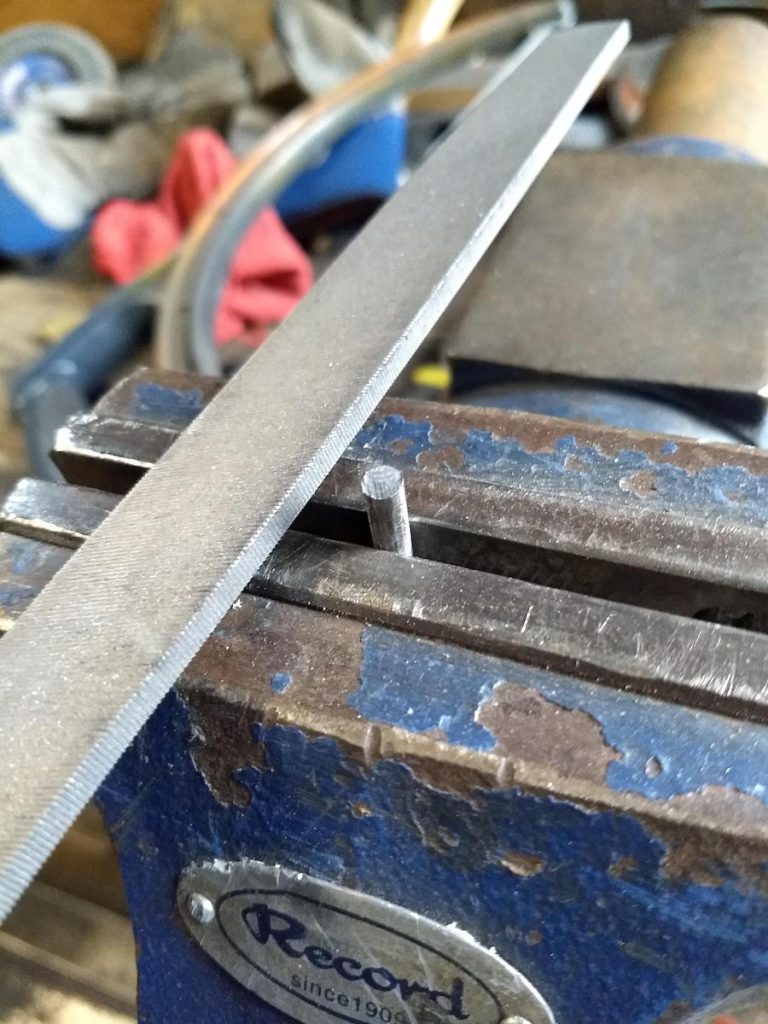
The ends of your pins will be rough, so it’s good practice to file them down with your fine file. They will fit better in your pin holes.
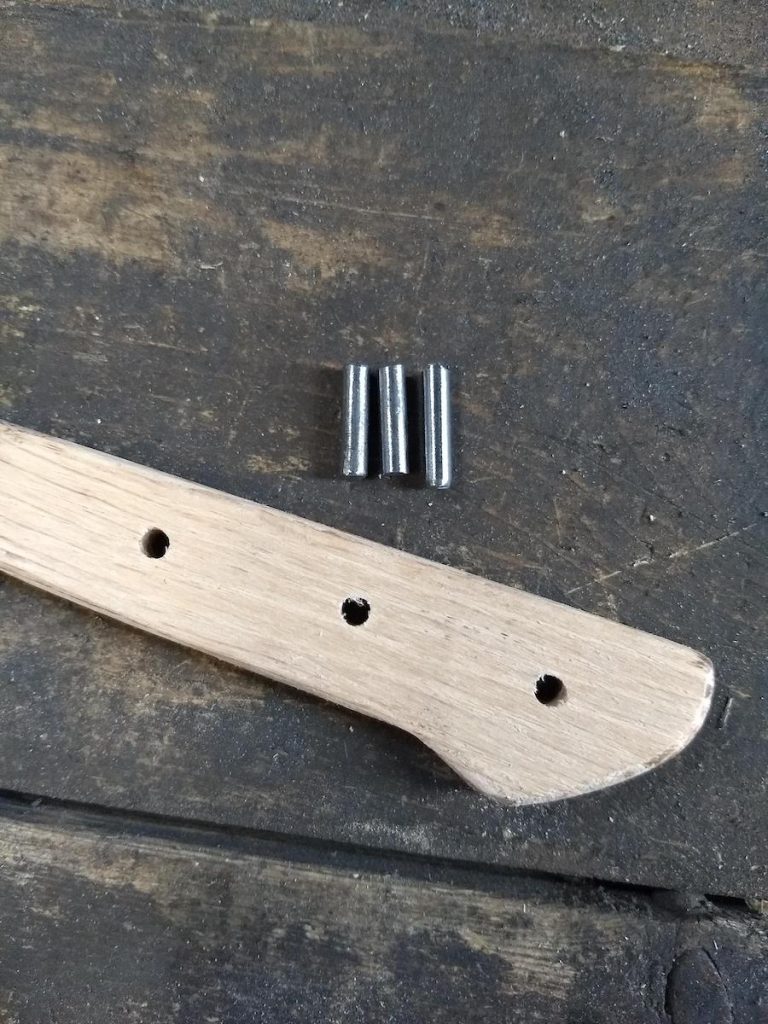
Three steel pins next to the handle of a Nakiri knife shown below:
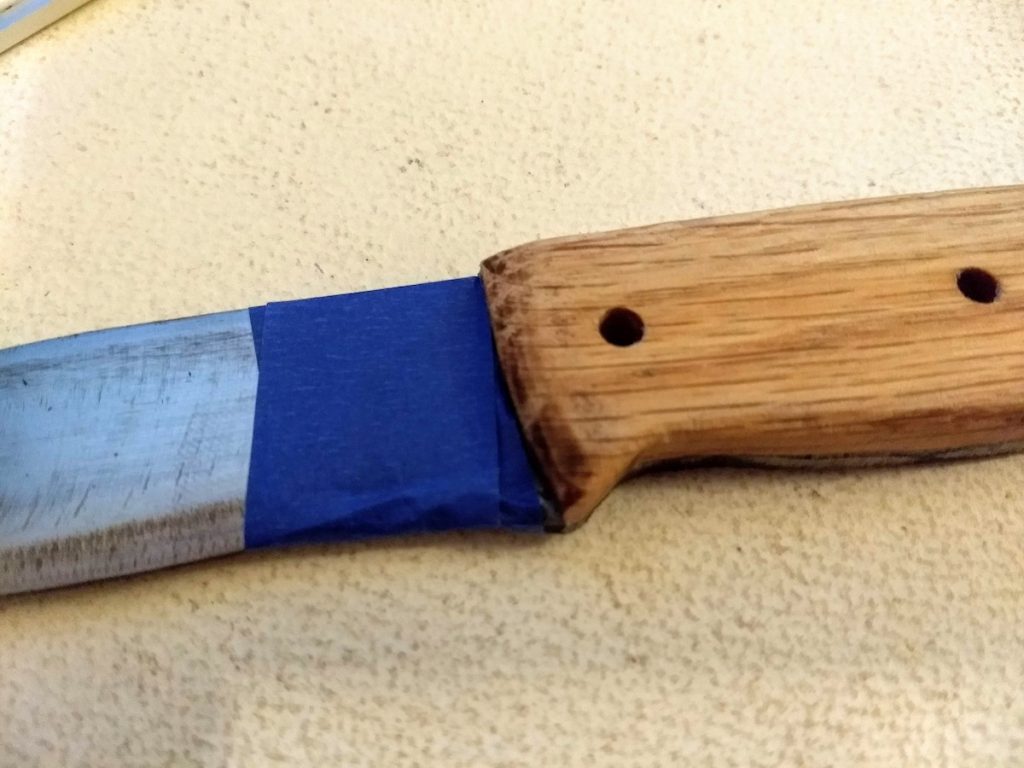
Wrap Your Blade Before Handling
To protect the blade from scratches during the handling process, wrap it in painter’s tape or masking tape.
It’s a quick way to be sure it doesn’t get scuffed.
In the next section, we’ll talk about Handle Materials.
Handle Materials
Nowadays we have access to all types of exotic woods and man-made composites for handle materials.
Some wood types and composites are easier to work with than others.
Let’s take a minute to lay out a few of them before getting into the handling process.
The following graphic shows wood types in descending order from relatively soft to hard.
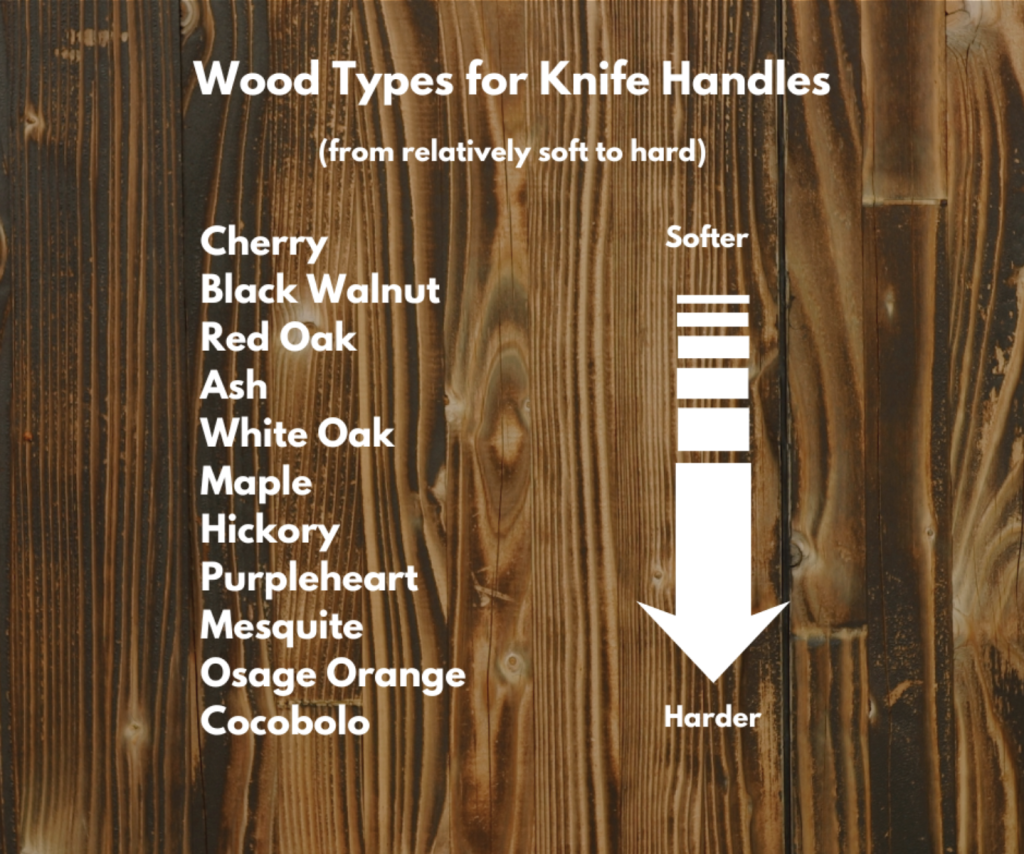
As you descend in the list above, the wood type gets harder to work.
If you don’t mind suffering a bit as you work, Osage Orange and Cocobolo can have good results.
Pricing
For pricing, you can expect to spend $7.95 for a pair of handle scales of Curly Maple or Purpleheart Wood.
Osage Orange scales start at $14.95. Cocobolo will run you $21.95.
*All prices that I reference here are from KnifeMaking.com in February 2024. Prices will change over time.
Each wood type will vary in color and grain pattern.
If you’re looking for a bright contrast next to your steel blade, purpleheart really pops.
If you want something more subtle and traditional, black walnut is a good choice.
What Handle Materials Are Available Locally?
The most traditional knife handle is made out of wood from your local area.
For this guide, we’ll stick with tradition and use a local hardwood: red oak.
I chose oak for its “stainability” and price. Even though I’ll be leaving its natural color for this guide, oak gives you options if you choose to stain it.
To reduce our handling time, I chose 1/4-inch thick pieces of oak that were 1 1/2-inch wide.
The cost for an 8-foot long piece was under $7 at Lowe’s. This provided plenty of material for multiple knife handles.
When you look for something similar, try this on Lowe’s website:
RELIABILT 1/4-in x 2-in x 4-ft Unfinished Oak Board
If the above link no longer works, you can type that information into the search bar and some version of it should come up.
Next, let’s talk about Basic Handle Shape.
Basic Handle Shaping
At this point we will cut the oak into matching handle length pieces – one for each side of the handle.
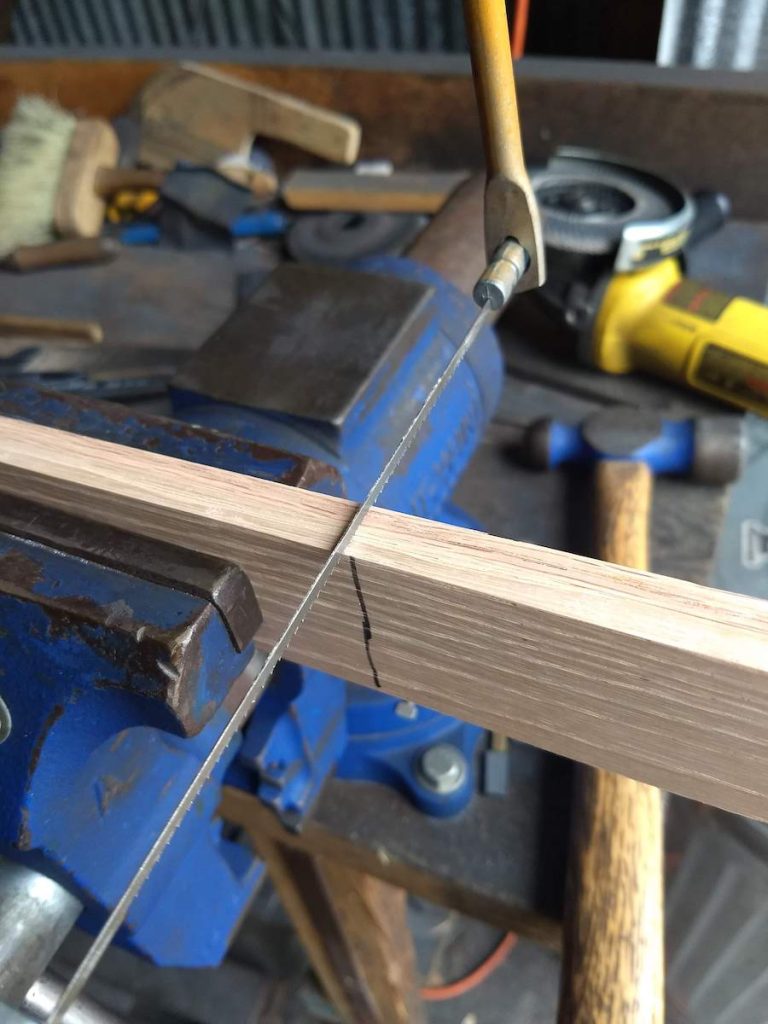
The handle on our bushcraft knife is 4-3/8 inches long so we will cut two 4-1/2 inch pieces to give us some room to work.
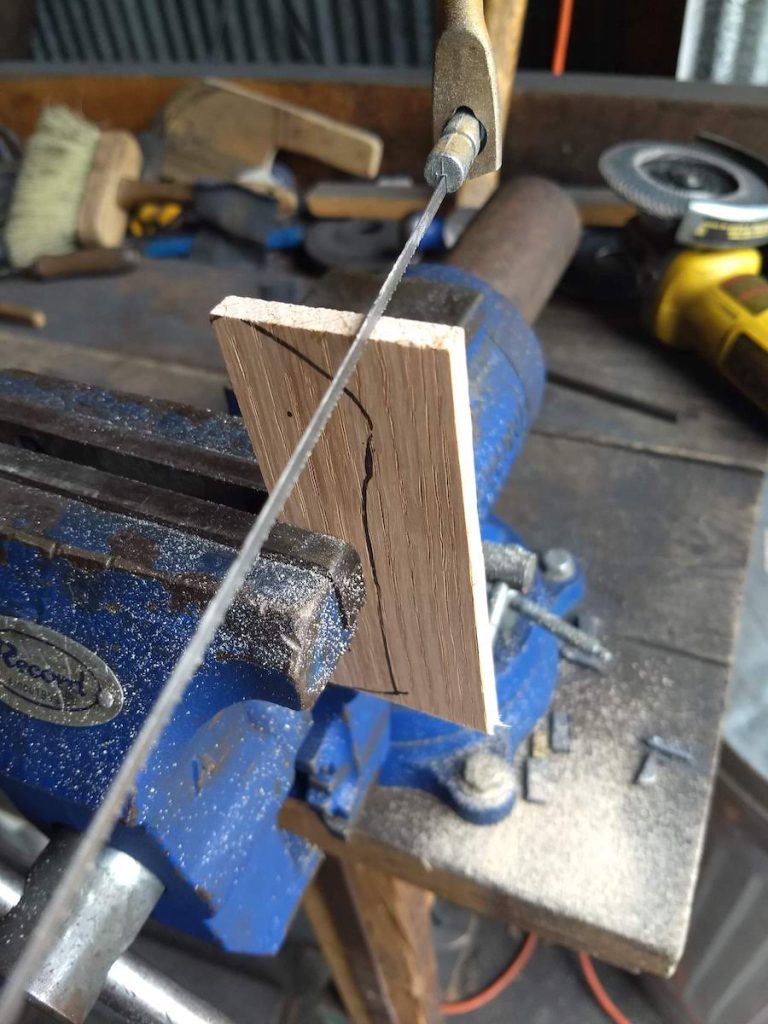
We’ll use the coping saw to do this.
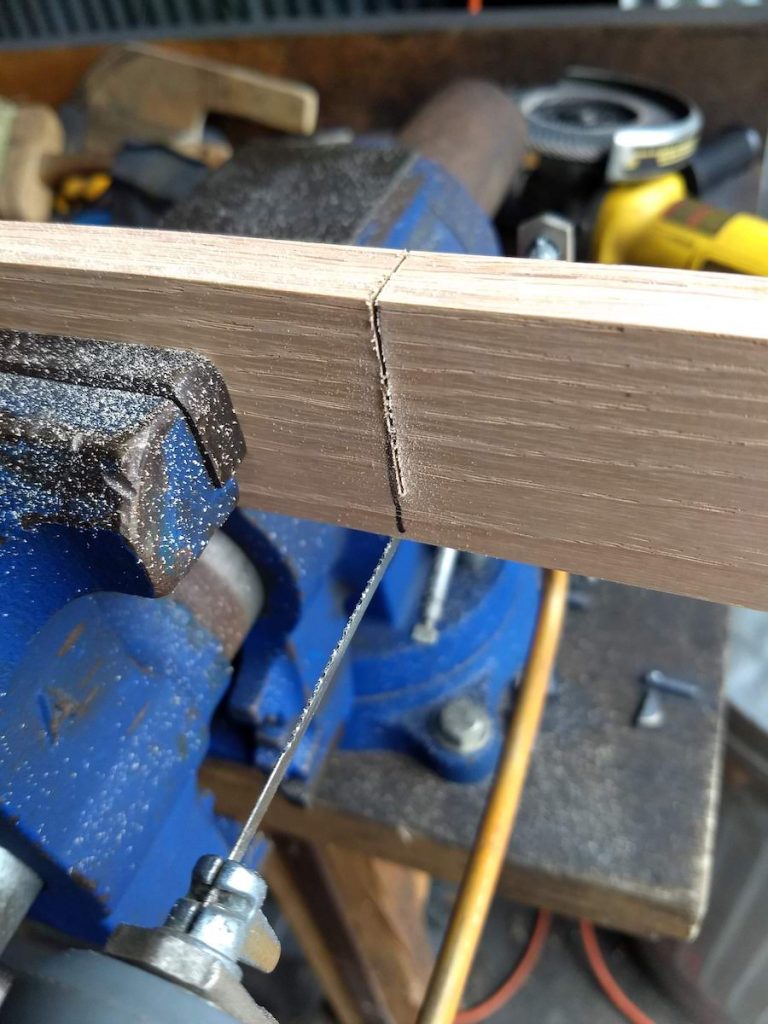
Finishing up the cut from the underside to avoid splitting:
The shape of your handle follows the shape of your knife blank.
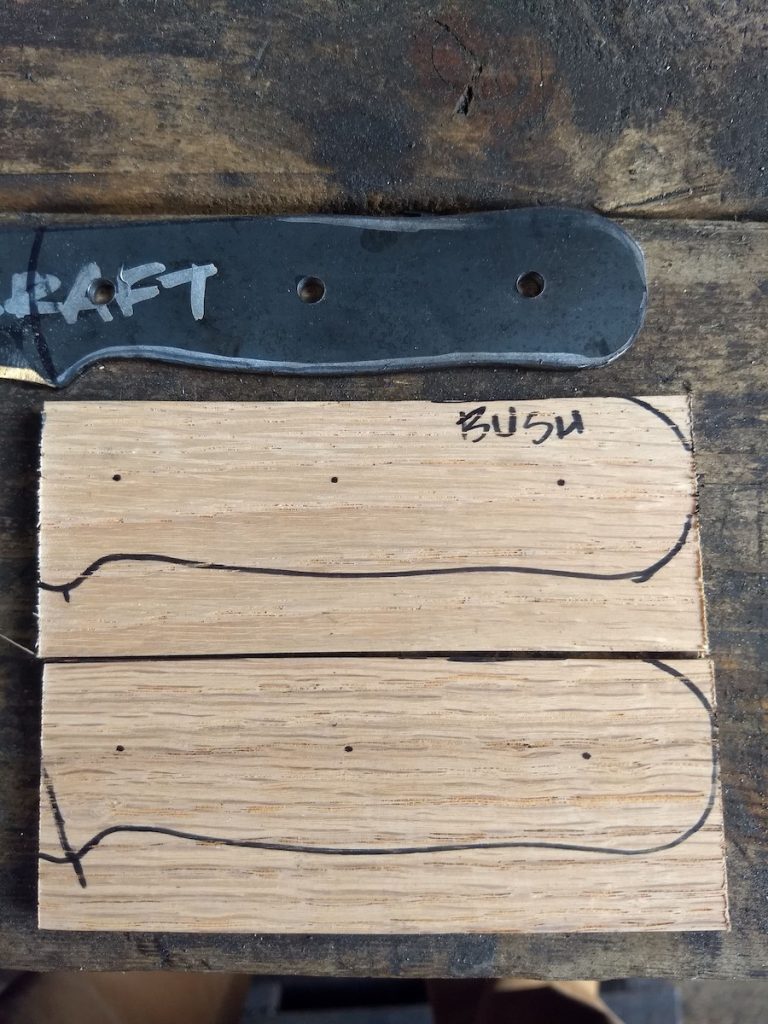
To start the handling process, we will trace the handle portion of the knife blank onto our cut pieces of oak.

When you trace your steel, get it as close to the edges of the wood as you can.
This will minimize the amount of cutting and shaping you have to do.
Using the coping saw again, we cut off the extra material around our traced lines:
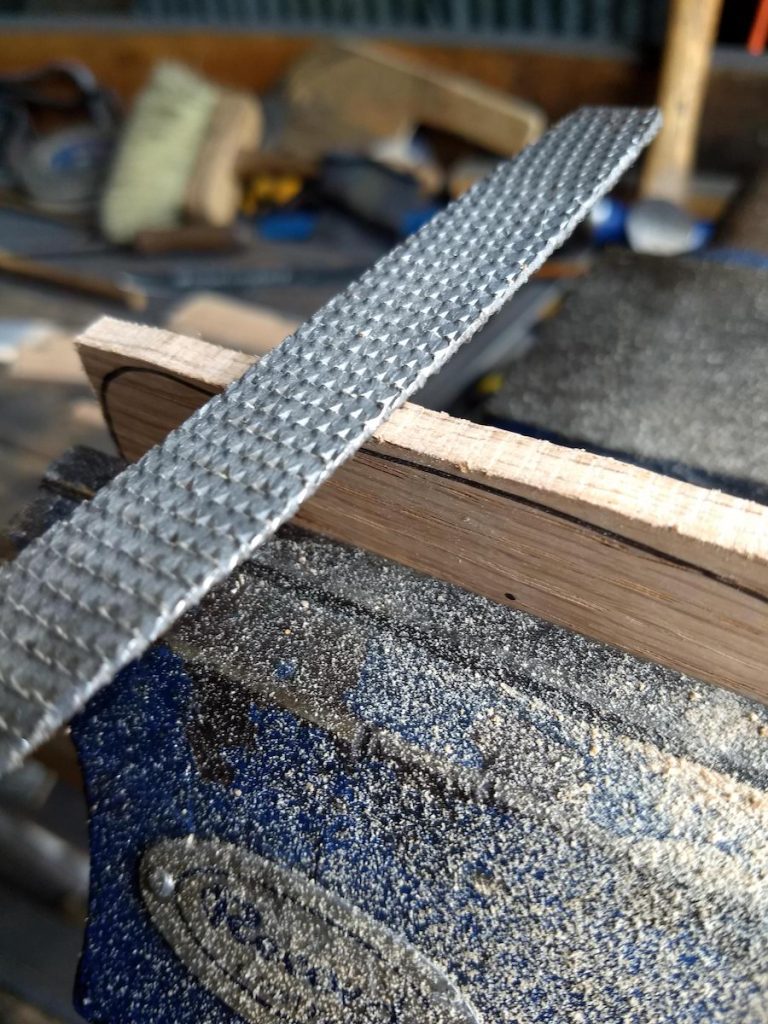
Then we will use the wood rasp to shape the oak closer to our lines:
Final smoothness can be achieved with finer and finer grits of sandpaper.
*If you have access to a belt sander, this can be done much faster.
In the next section, we’ll set the pins (optional).
Setting the Handle Pins (Optional)
Lining Up Your Pin Holes
Sometimes this part can be tricky.
Instead of measuring the hole placement and gluing both pieces of oak onto the knife, I like to do one side at a time.
I glue one piece of shaped wood onto the knife and let it set up for at least 2 hours.
*We’re using the Gorilla Glue for this. [This is an Amazon referral link. We may receive compensation from purchases made through this link.]
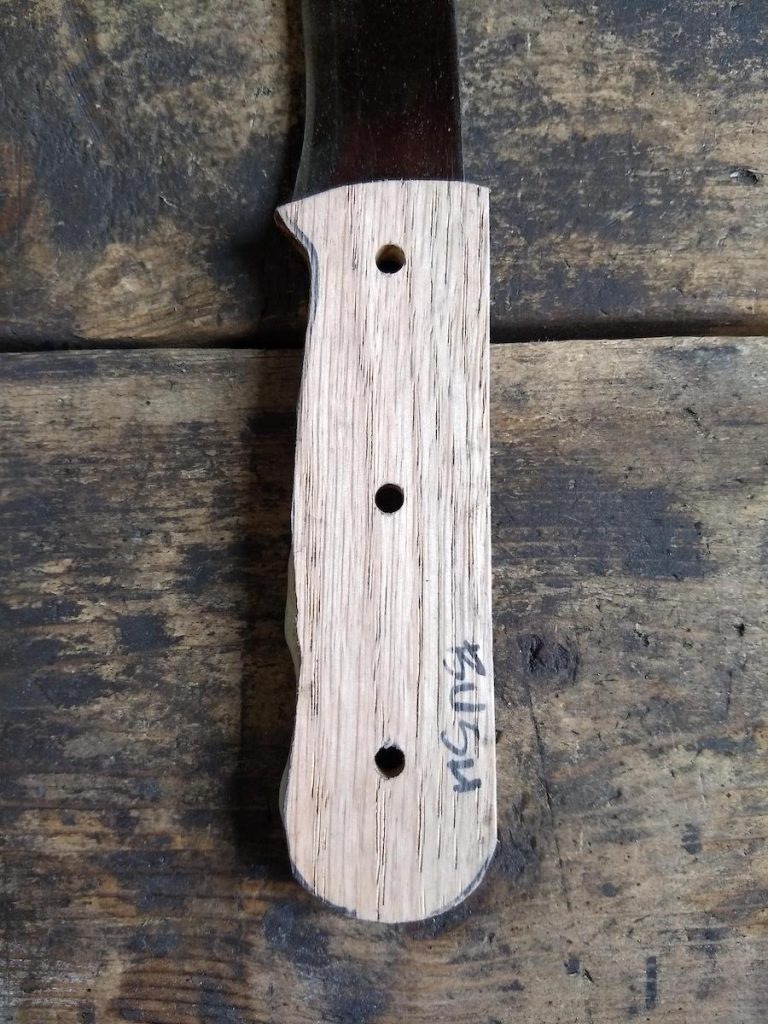
I then drill out the wood using my already drilled holes in the metal as a guide.
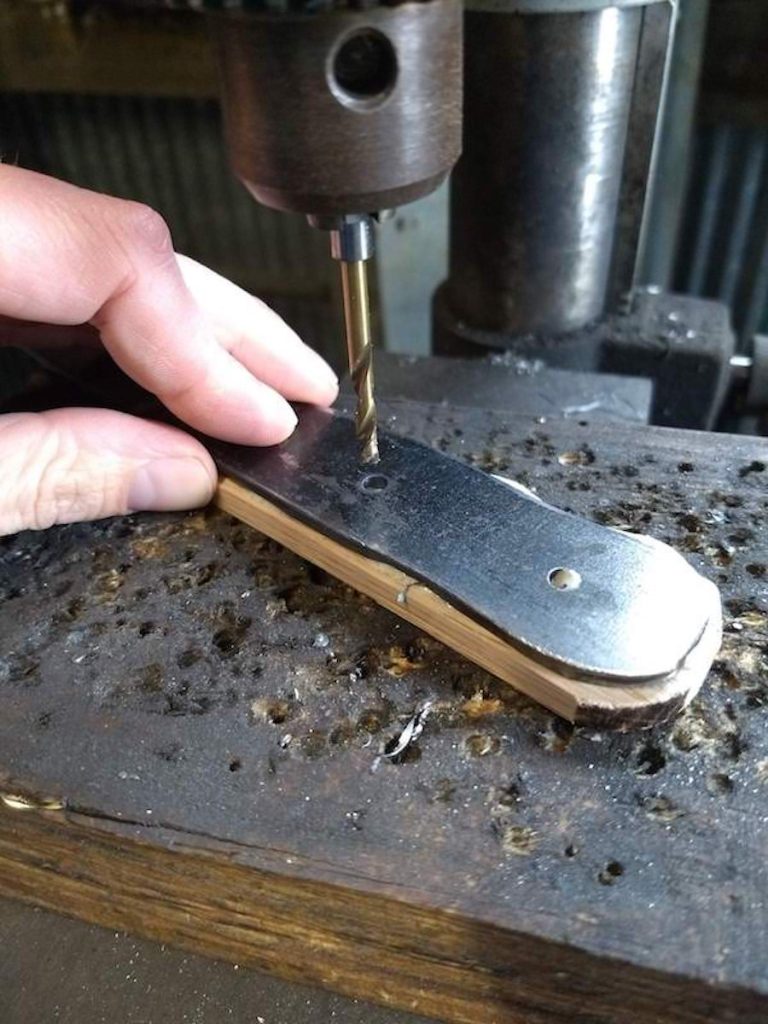
Looking from the other side:
Then I glue on the other piece of wood and let it set up.
You can use the pins to be sure the holes line up. Any epoxy in the holes can be drilled out before setting the pins.
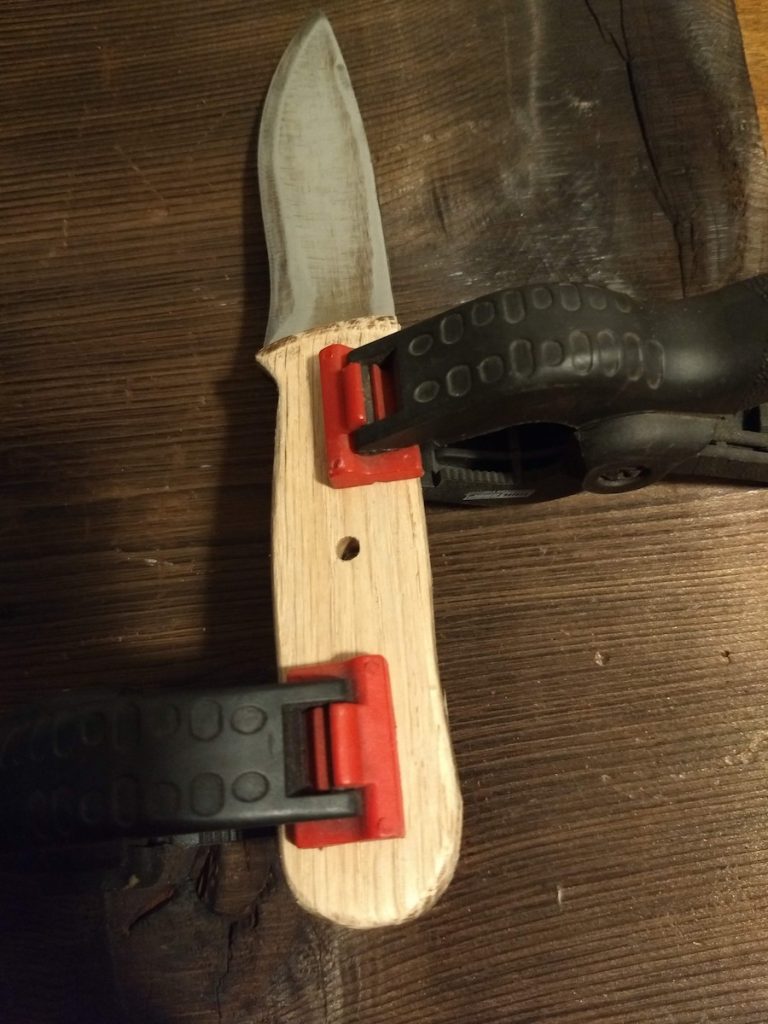
Use your clamps to hold the handle scales in place while the epoxy/glue sets.
Finally, I can use the holes on the already drilled side as a guide for the final side.
It’s a little more time-consuming, but it saves me a lot of headaches.
I’ve had too many times where the holes didn’t match up right and the pins wouldn’t fit!
This method should save you from that.
Adding the Pins
Add a very small amount of epoxy to your pins and slide them into their holes.
You may need to lightly tap in the pins depending on their size and the size of the holes.
It’s okay if some of the pin sticks out from the wood. This will be ground down or filed away once the epoxy sets.
*Gorilla Glue will expand to three times its size as it sets, so using a small amount is best.
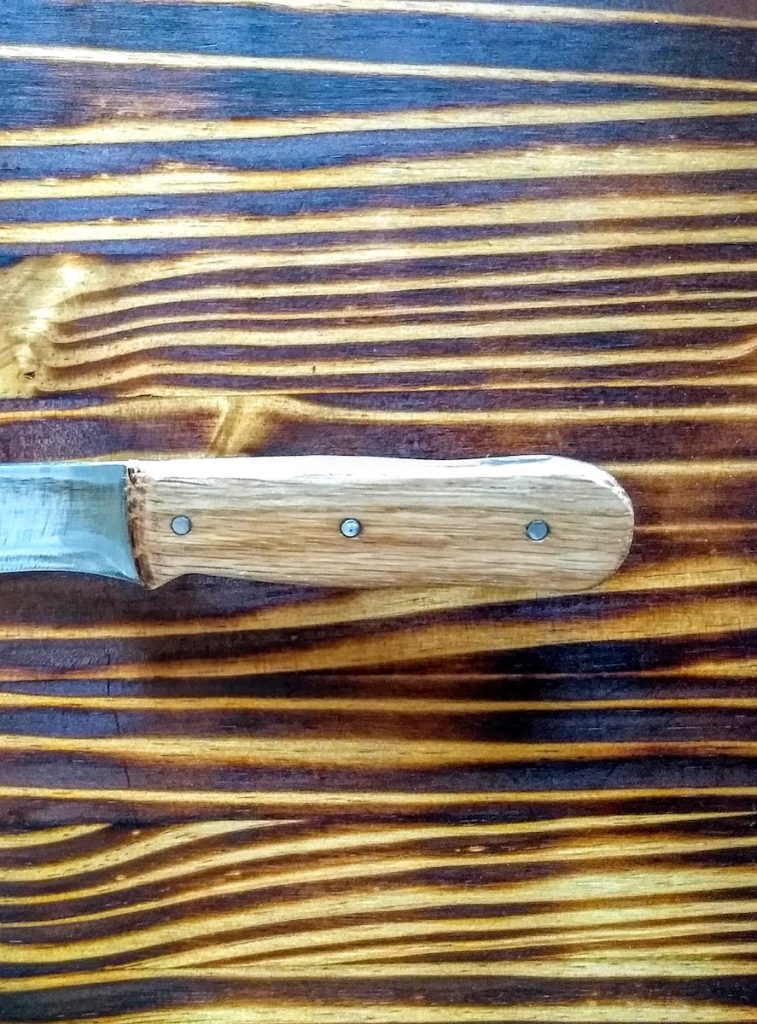
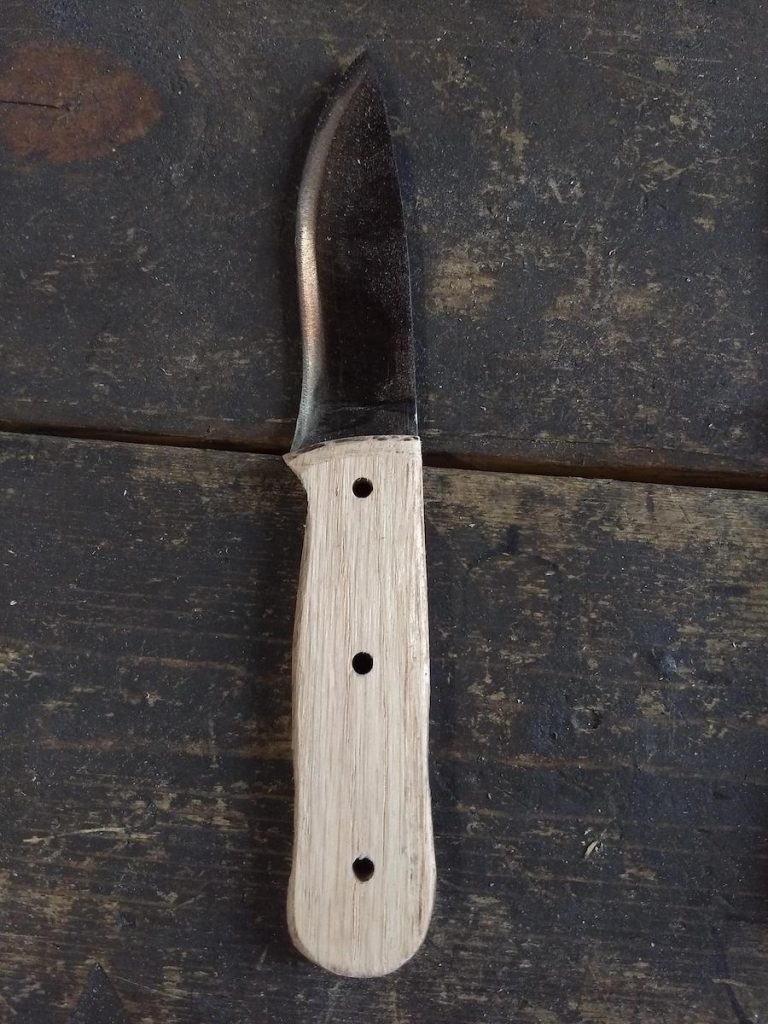
You can see the handle below with all three pins set.
Next up we’ll finish Finish the Handle!
Finishing the Handle
After the pins and epoxy have set (for at least 2 hours), it’s time to do the final shaping.
This can be done with the rasp and sandpaper.
Gradually remove material until the oak is flush with the metal all the way around the handle.
Take time to feel the grip and see where it needs to be adjusted.
This comes down to personal preference, but it should fit your hand comfortably.
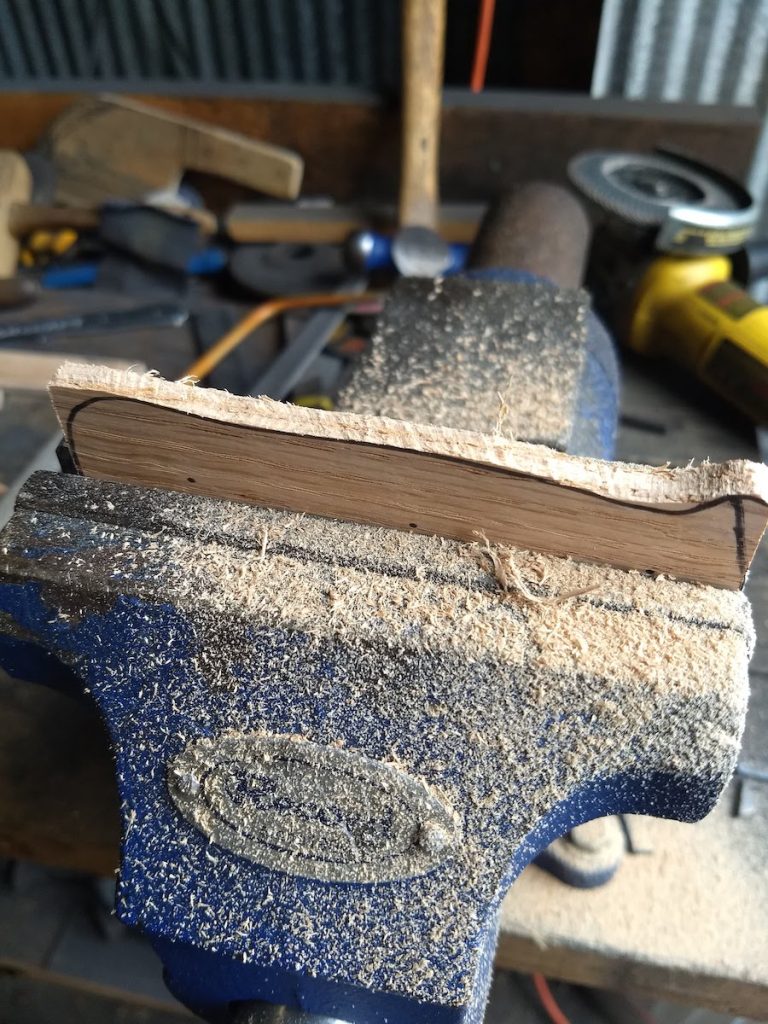
The next two photos show details of handle anatomy.
There are subtle angles to every handle. The final shape is up to the knife maker and the intended user.
Not completely smooth yet, but getting there.
Sealing the Handle
I like to keep my wood finishes simple.
Any wood stains I use are usually very light in color. I prefer to see the natural character of the wood come through.
For this bushcraft knife, I used a beeswax-based wood conditioner:
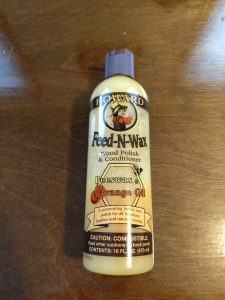
Howard Feed-N-Wax [Amazon referral link – I may be compensated for purchases made through this link.]
- It penetrates the wood to protect it.
- it doesn’t add a slick shellac coating to the outside that can lead to blisters.
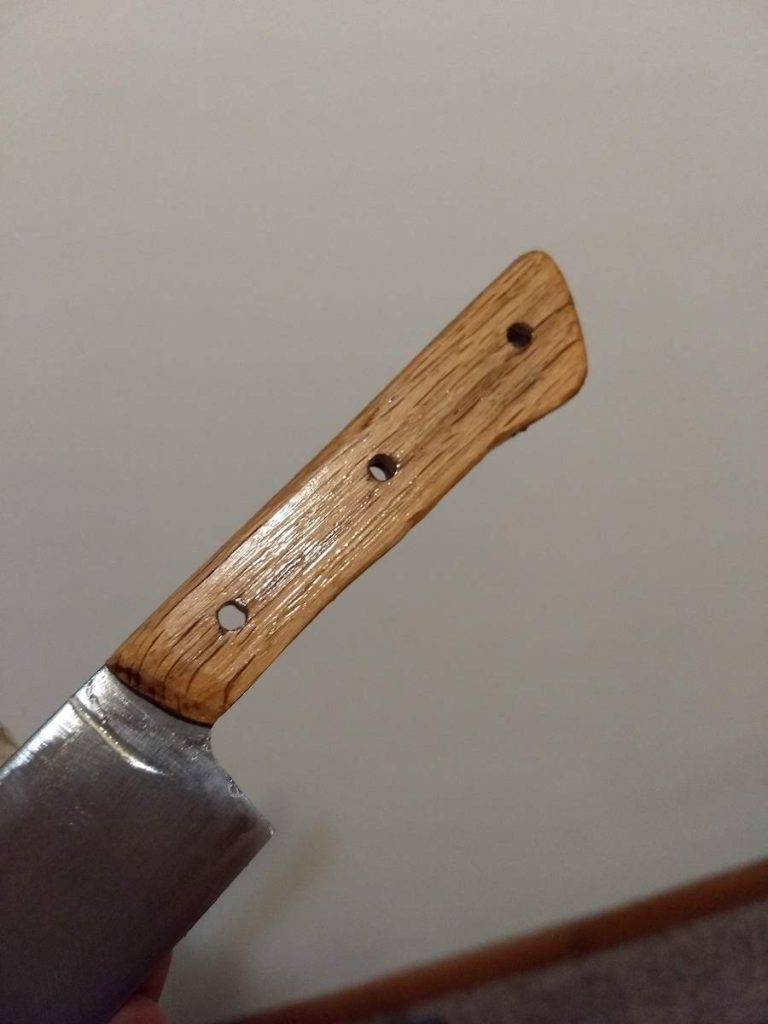
You can apply multiple coats as each one dries. Use a soft cloth, paper towel, t-shirt rag, etc. to apply the polish.
Below you’ll see what the Feed-N-Wax looks like on a practice knife handle right after application:
Wrapping Up
That’s the knife making process from beginning to end. In the next lesson we’ll go over specs and I’ll share some examples of past projects.