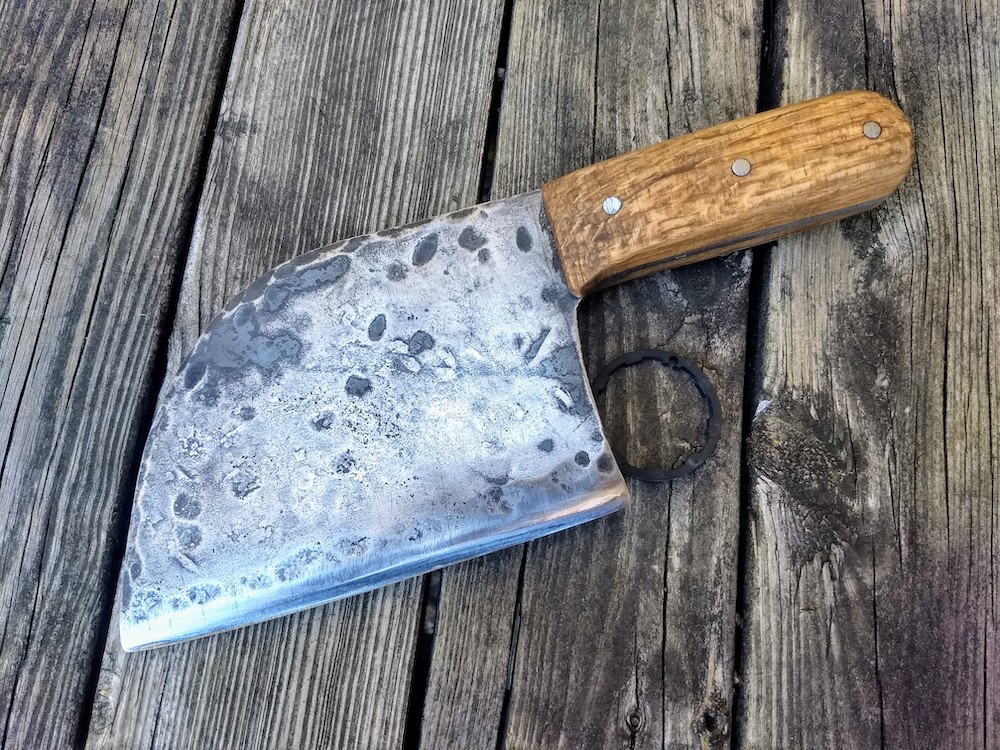
Our latest custom blade is a Serbian Chef Cleaver made out of 1084 carbon steel.
A local roofing contractor requested it. He does a lot of camp cooking and liked the style.
Here’s how Terran Marks, the blacksmith at Brown County Forge, created it for his client from start to finish.
How to Make a Serbian Chef Cleaver
The first decision you have to make with any blacksmithing project is the steel.
Picking the right steel with the right carbon contact can mean the difference between success and failure.
For this cleaver project, I picked a common, easy to work carbon steel grade: 1084.
Steel Stock Size
The cleaver needed to be pretty wide: At least 4 Inches from spine to knife edge.
I bought a 36-inch long piece that was 3/16-inch thick from Jantz Knife Making Supply for $81.89 (includes shipping from Oklahoma to Indiana).
Based on my measurements I knew I could get a few knives out of that single piece. It justified the cost.
Step One: Knife Design Layout and Stenciling
The steel took a few days to arrive from the Okie State. (Not unexpected due to how busy those folks are.)
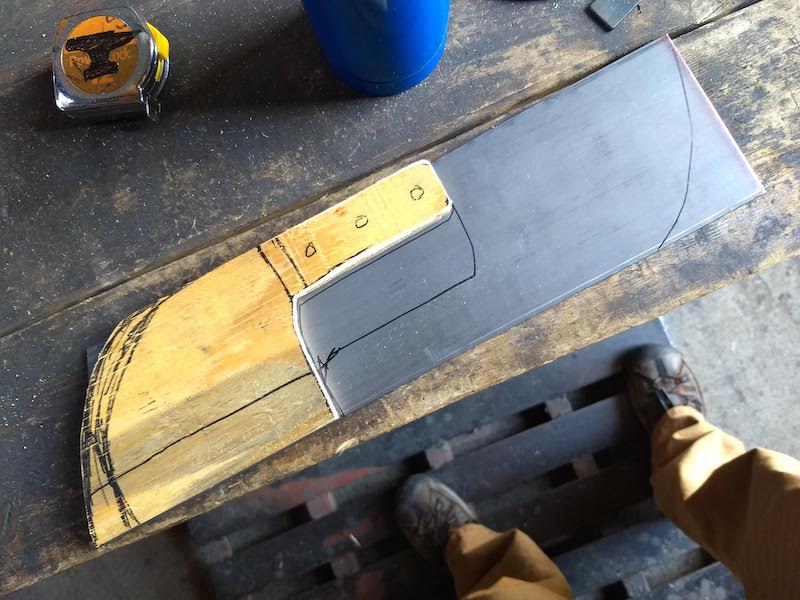
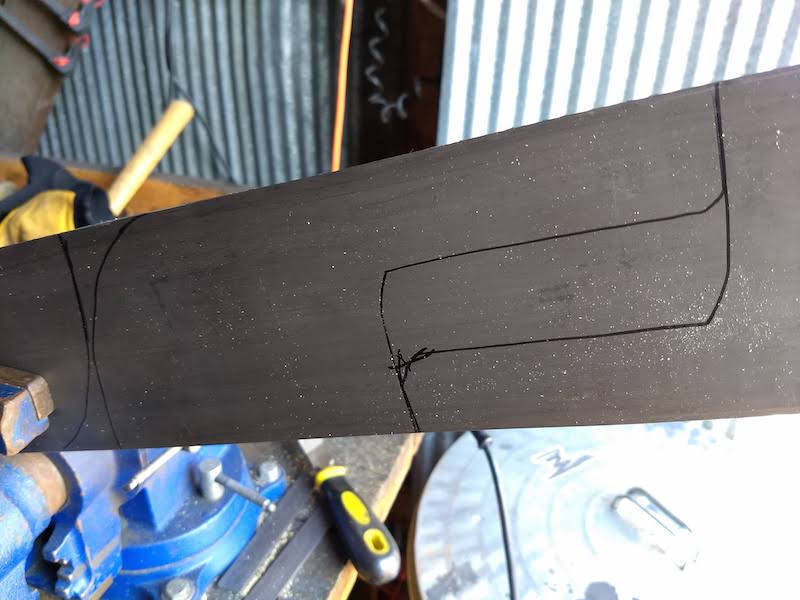
I took it over to the shop and started sketching my basic design on a piece of wood first.
I like to start with scrap wood because it’s:
- Easy to cut.
- Easy to correct.
- Inexpensive.
- Sturdier than paper or cardboard so I can reuse it.
You can see from the photo that I had to make some adjustments to the tip of the knife.
It looked too stubby at 9 inches long. So I added another inch and continued the slope of the spine.
I like to add in the rough positions for the handle pins so I can visualize the whole blade better.
Note: I traced my wood stencil in a way that would waste as little material as possible. This makes it tricky to cut, but worth it if you’re trying to get multiple knives about of a single piece.
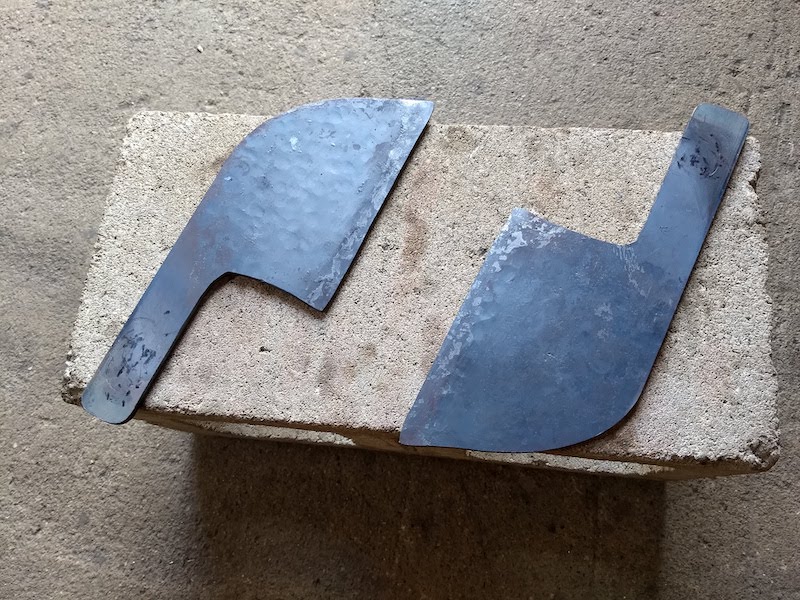
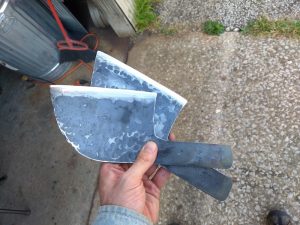
Step Two: Cutting the Basic Knife Shape
I used a DeWalt 7-Amp Angle Grinder with a 4-1/2 inch cut-off wheel to cut out my knife shapes.
Getting in between the two cleavers was tricky. When I do it again I’ll leave more space between the two so I can “fudge” a little more.
After they were cut out, I smoothed and ground down any rough edges with a standard bench grinder. No need for anything fancy, here.
Step Three: Forging the Serbian Chef Cleaver/Normalizing
This knife is a combination of the two types of blade making: stock removal and forging.
I created the basic shape by cutting away (removing stock) and finished it by hand-forging the edge.
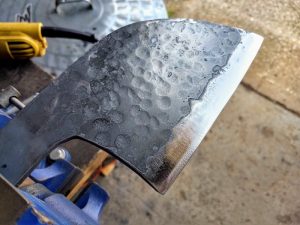
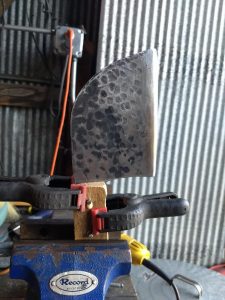
I also added a pebbled texture at the request of the client.
When forging 1084 you should work it hot. The recommended minimum temperature is 1500 degrees Fahrenheit. (cashenblades.com)
After working the blade edges and texturing the steel, I set them on a concrete block to cool/normalize.
Step Four: Edge Grinding/Adding a Touchmark
When the knife is cool and unhardened, it’s much easier to grind and manipulate.
I used two main tools to add a refined edge to it:
- Angle grinder with medium and fine grit flap disks.
- Fine grain bastard file. One of my favorite tools for sharpening.
There are many different ways to grind a knife edge.
For a handmade butcher knife, I like to keep it simple: 1/2-inch wide bevel at approximately 20-degrees. We’re not filleting or paring with this bruiser so no need for scalpel-level precision.
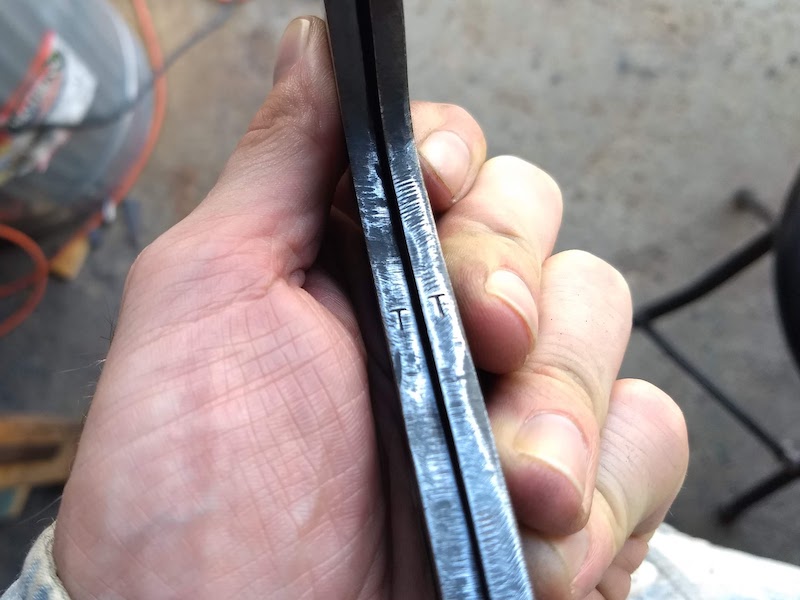
I also added a simple touchmark in a hidden spot.
Touchmarks are the traditional method for blacksmiths to sign their work.
Using hardened steel stamps of their shop logo or their name, they made an impression in the steel.
For these pieces, I went with a simple “T” for my first name on the underside of the handle.
Step Five: Hardening and Tempering
Hardening
Hardening temperature for 1084 should not go above 1500 degrees.
The blacksmith’s trick for finding the proper hardening temperature has two steps:
- Heat the piece until it approaches cherry red in color.
- Test with a magnet.
If the piece still attracts the magnet, gradually heat it more and test again.
As soon as it no longer attracts, heat slightly more to compensate for the heat lost during testing and then quench.
I use canola oil as my quenchant. It’s pretty quick making it ideal for 1084 sections under 1/4-inch thick. Above that thickness, water or brine can be used with extreme care (you risk cracking and micro-fractures).
I did an edge quench into my metal tub of oil, keeping the majority of the blade out of the oil.
Tempering
I performed what’s called a draw temper on both cleavers to reduce the “as-quenched hardness” from 65 HRC (Rockwell Hardness) to something softer and easier to sharpen.
This involves applying heat toward the spine of the blade and watching as the color changes and moves toward the blade edge.
The idea is that you have enough time to catch the color before it goes too far.
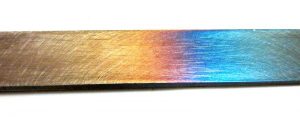
I tempered the two blades to around 400-degrees or the Light Gold color to the far left of the above temper scale.
Tested with a file you can now feel it “grab.” This indicates that it can be hand-sharpened.
Step Six: Handling the Serbian Cleaver
After the heat treat (the hardening and tempering cycles), it’s time to go to work on the handle.
Handling is an art in and of itself. If you’re handy with woodworking, this will come naturally to you.
For my handle material I chose a nice piece of oak for its color and grain.
I rough cut the scales of the handle after tracing the shape of the full tang.
Matching up the holes can be tricky so err on the side of too much material than too little.
You can always rasp and grind away the excess wood.
Since the steel handle section was kept out of the hardening cycle, it was easy to drill.
I measured my three pin locations and marked them with a center punch before drilling them out.
This is much easier if you have a drill press to use, but can be done with clamps, a power drill, and steady hands.
Glue Up
I got all of the holes lined up and put them together dry to make sure it would be smooth before adding glue.
Then I took it apart, wetting the pieces of wood per instructions and added the glue.
I clamped it all together using two hand clamps and my shop vise and let it set up overnight.
The epoxy/glue I recommend: Gorilla Glue Two-Part Clear Epoxy
I’ve put knife handles together with regular Gorilla Glue and it works. However, when it dries the glue is yellowish, hard, and puffy-looking.
Clear epoxy is a much better result.
Handle Shaping
You can spend hours working on a handle. Sometimes it takes longer to make the handle than it does to forge the knife.
To shape it, I used a standard wood rasp and a 2 x 36 belt grinder attachment from MultiTool.
If you have a standard belt sander you’ll be in good shape.
Keep in mind that you will be grinding metal and wood simultaneously (the pins and the handle).
Step Seven: Handle Sealing and Final Sharpening
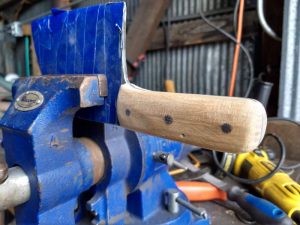
You probably noticed the blue tape in the last photo.
This protects the blade while we work on the handle with rasps, grinders, and stains.
I used a Medium Dark Natural Danish Oil on the handle for a light look.
It also allows the customer to darken it if he chooses to.
I let that set over night before pulling off the tape and doing my final polish and sharpen.
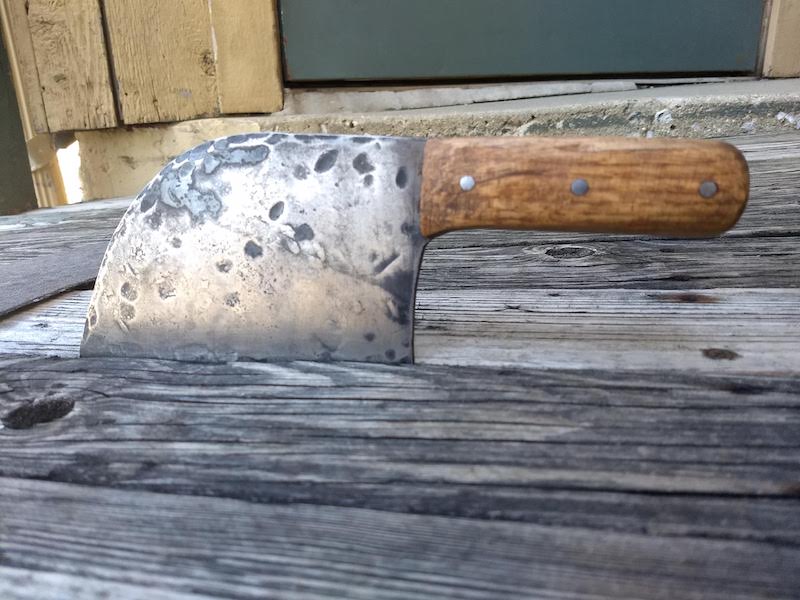
When he saw the finished cleaver he loved it.
Here it is:
Want Your Own Serbian Cleaver?
Contact us for pricing on custom knives: browncountyforge@gmail.com