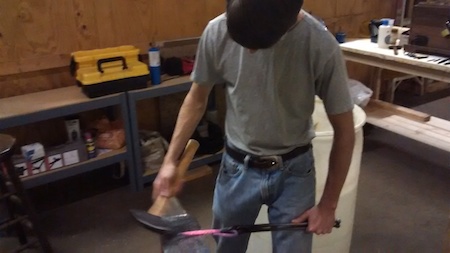
This past Friday night, we had a Brown County native in the shop learning the fundamentals. Ethan had never swung a hammer at hot metal in his life, but by the end of the three-hour private class he showed a real knack for it.
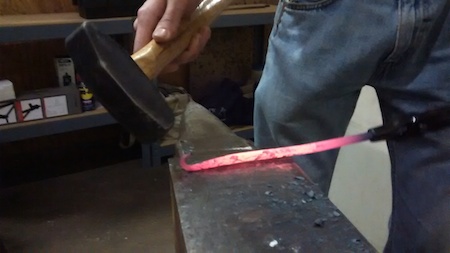
In the top picture, he’s fine-tuning a scroll at the end of what will eventually be an S hook. The S hook is a great beginning project because it involves a variety of techniques.
To make a single S hook, you’ll have to taper or draw out the metal, scroll it multiple times, quench it multiple times, and make nice, fluid bends. Since the S hook has two ends, that’s double the practice. Repeating those motions pays off quickly, too. There was a huge improvement from one end of the S hook to the next.
Here’s what Ethan created at the shop:
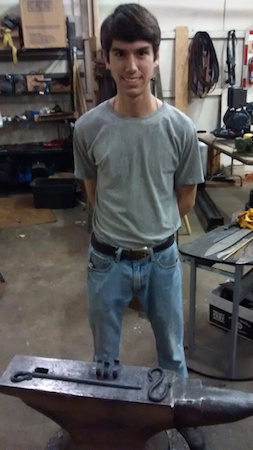
Great Job, Ethan!
Sunday Class Times Now Available
Your interest in the Saturday classes encouraged us to make Sundays available for lessons as well. You can now book the forge either day.
If you’re not ready to do a full class, that’s okay. Come stop by for 2 or 3 hours like Ethan did and create something.
Thanks for stopping by. Let’s get forging!