Last time we talked about 5 forges for under $500. In this series of posts, we’re going to slowly build the basics of a blacksmith shop:
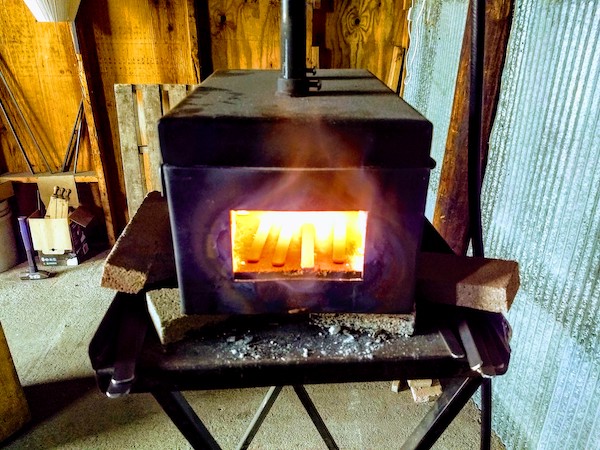
- Forge
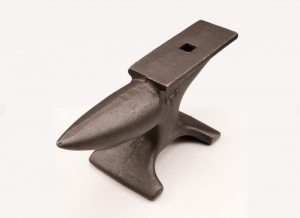
- Anvil
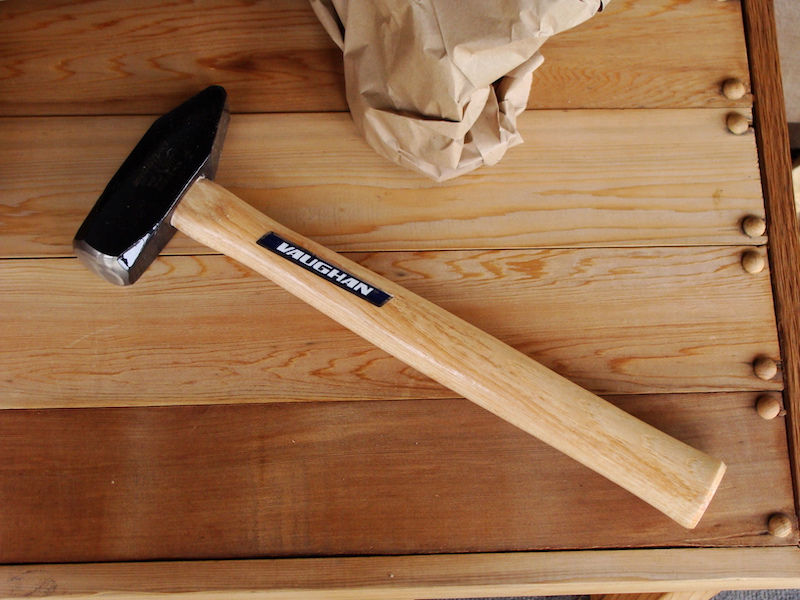
- Hammer
- Tongs
- Metal
I’ll be drawing on my personal experiences over the years using a variety of equipment.
Today, we’re going to focus on Four Anvils You Can Buy for Under $400. (All prices current as of this posting: 1/5/2021)
1. TFS 70 lb. Single Horn – $397.00
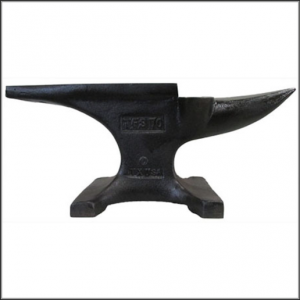
Coming in just under the limit (before shipping) is the Texas Farrier Supply 70 pound single horn anvil.
My experience with TFS anvils goes back almost six years now. One of my past shopmates had a 200 pound TFS Smithy Special Double Horn.
Plenty of weight to push against. The downside is the price: $1,310.00, shipped by Commercial Truck (read: expensive).
However, you get the same quality manufacturing that TFS is known for in the 70 pound single horn.
SPECS:
Ductile Iron. Hardened to 50 Rockwell. (Their anvils over 150 pounds are hardened to 48 Rockwell, meaning slightly “softer.”)
Face: 3.5″ x 12.25″
Horn: 3.5″ x 9″
Height: 7.75″
Base: 8.5″ x 9.5″
1″ Hardie hole. 1/2″ Pritchel hole.
Made in the USA.
Ships for $29.95 Flat Rate from Centaur Forge. (centaurforge.com)
Why are anvil dimensions important?
The Face size tells you how much space you have to work. Having a nice wide face makes it easier to hit (or not hit) your mark. More room to play.
The Height tells you how tall you will need to make your anvil stand. To figure out the overall height you:
- Measure from your closed fist to the floor.
- Subtract the height of your anvil.
- That’s how tall your anvil stand should be. This keeps you from overextending as you swing your hammer. Too much over-extension and you’ll blow out your elbow.
The Base dimensions tell you how wide you need your anvil stand to be to fit it.
If you’re using a tree stump for an anvil stand, you want it to be larger in diameter than the base of the anvil.
Let’s keep making our way down the list. Next up…
2. NC Tool Company 70 lb. Knifemaker Anvil – $355.00
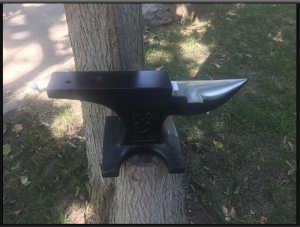
Of the NC Tool Company line of anvils, this is the closest in style to the pair in my shop.
The hardie and pritchel holes are in their standard locations in the heel of the anvil. I’m noting this because many of the newer NC anvils feature the hardie (the square hole) through the horn.
It should also be noted that NC Tool Company anvils are made with farriers in mind. That doesn’t mean other blacksmiths can’t use them, but you might have to navigate past anatomy like clip horns and turning cams.
SPECS:
Face: 3.25″ x 11.375″
Horn: 4″ x 8″
Height: 9″
Base: 8.75″ x 9.125″
1″ Hardie hole (takes a 7/8″ hardie). 1/2″ Pritchel hole.
Made in the USA.
Ships for $29.95 Flat Rate from Centaur Forge. (centaurforge.com)
Why I like these anvils:
At 70 pounds they can do a lot of work while still being light enough for one person to lift.
If you’re working in your shop alone, being able to shift and move your anvil is important.
This is particularly true if you have a mobile stand for it. For example, I need to be able to shift both anvils depending on how many people are in a class and depending on what I’m making during the week.
I’ve used my oldest one since November 2015 when I bought it from a local farrier supply.
The second one has been in use since mid-2016.
With proper care, they’ll keep on ticking for generations to come.
Note: These will come with a painted face. You will want to remove this paint before doing any hot work on it.
It’s there to protect it in storage before its final owner starts using it.
How do you remove the paint from an anvil face?
Flap disks in an angle grinder do a great job. But be careful. It’s easy to start chewing away at the steel underneath the paint. Use an 80 grit flap disk and go lightly at first.
Wear a mask and eye protection to ensure you’ll be around to forge for as many years as possible.
3. Kanca 44 lb. Drop Forged Double Horn – $299.00
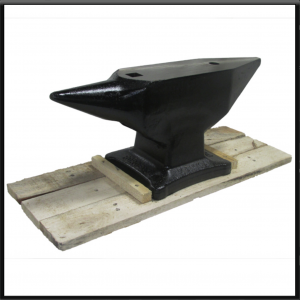
I’ve never used a Kanca, but some of my students have. From what I can tell they like them.
This one is on the lighter side, but the next size up (77 pounds) comes in at $475. It doesn’t fit the criteria for this post, but still worth a look.
SPECS:
Southern German designed double horn drop forged anvil. Surface hardness between 54 – 62 HRC (Rockwell Hardness).
Face: 3.15″ x 11″
Horn: Not provided.
Height: 6.10″
Base: 8.75″ x 9.125″
7/8″ Hardie hole. 3/4″ Pritchel hole.
Forged in Turkey.
Ships for $29.95 Flat Rate from Centaur Forge. (centaurforge.com)
Why you might like this anvil:
If you’re doing smaller work and you have a strict budget of $350 or less, this anvil will do the job.
Kanca is a large supplier for the automotive industry so you can feel comfortable that they know their stuff.
Blacksmith’s Depot (blacksmithsdepot.com) compares them to the classic Ridgid-Peddinghaus anvils, but much less expensive
4. Iron Mountain 18 lb. Anvil – $105.00
Should you buy an 18 pound anvil for around a hundred bucks?
Can you do anything with it?
My answer, to paraphrase the late, great John Lennon (and Jack Nicholson in The Departed):
“I’m an artist. You give me a tuba, I’ll get you something out of it.”
Meaning: It has more to do with you and your skills than it does the tools.
You could forge a sword on the back of a bench vise if you had to.
It would take a while and it might not be pretty, but you could it.
SPECS:
Ductile cast iron (poured into an anvil-shaped form and then ground).
Face: 2.75″ x 7″
Horn: Not provided.
Height: 6″
Base: Not provided.
7/8″ Hardie hole. 3/4″ Pritchel hole.
Made in the USA.
Ships from Pieh Tool Company. (piehtoolco.com)
What would I do with an 18 pound anvil?
First, I’d make sure it’s secured to a nice solid bench or anvil stand. At 18 pounds it’s gonna wanna walk on you as you hit.
I’d definitely use it for small things. It would be right up a coppersmith, silversmith, or tinsmith’s alley.
If you’re really strapped for cash, I’d buy this anvil before one from Harbor Freight. It looks cool and it’s solid iron.
What Do You Think?
Which anvil of the four we covered would you buy and why?
Would you wait, save up more money, and go for something larger?
If so, what would you get?
Leave a comment below.
Cheers,
Brown County Forge
Terran Marks – Owner