If you’re familiar with Wile E. Coyote and the Roadrunner, you’ve come across blacksmith terms before.
The coyote is always scheming to drop an anvil on the roadrunner, but ends up getting flattened himself.
In this post, I’m going to lay out 9 common blacksmith terms to know.
1. Blacksmith Terms #1: The Anvil
Now that blacksmiths are a lot less common, our first introduction to anvils probably came from watching Looney Tunes.
It seems like some cartoon character was always getting turned into an accordion after being flattened by an ACME anvil.
For blacksmiths, the anvil is one of the most essential pieces of equipment.
It’s where all the work gets done.
All traditional anvils have a similar shape:
- Horn – for bending hot metal
- Face – the flat area where you do most of your work
- Hardie – the square hole used for tools with square posts that fit into the anvil
- Pritchel – the round hole used for punching holes and making holes wider through drifting
- Neck – the center mass of the anvil
- Feet – the base of the anvil
2. The Forge
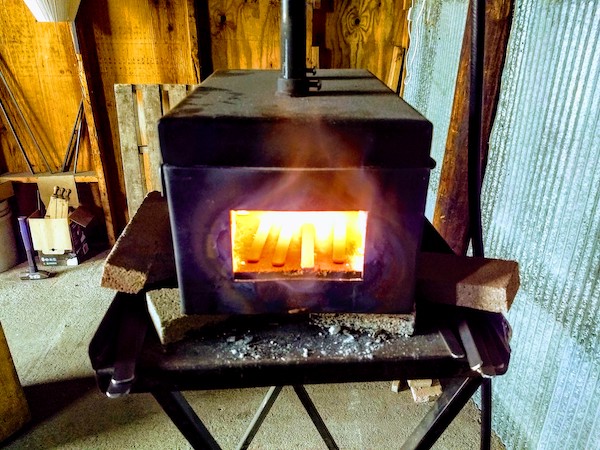
This blacksmith term can be confusing sometimes because it refers to two things:
- A forge is the blacksmith’s shop, the building where he or she works.
- The forge is also the contained fire that the blacksmith uses to heat up metal. (The above photo is of a propane forge in my shop.)
Brown County Forge refers to the blacksmith shop where I work.
Inside that blacksmith’s shop, there are a couple of forges I use to heat the steel I hammer on.
Forges can be coal, gas, charcoal, or wood-fired.
The two most common fuel types for forges are coal and propane.
Charcoal and wood are less common because they aren’t as efficient. Meaning they don’t get hot enough or they burn up too quickly.
3. Blacksmith’s Tongs
Tongs of all types are used to pick up things that are too hot for your bare hands.
Whether it’s a steak on the grill or steel from the forge, it’s the same idea.
Blacksmiths rely on tongs in two ways:
- To keep distance between their hands and hot metal.
- And to grip the hot metal securely while they hammer on it.
There are many, many different styles of tongs out there. Each type is suited to picking up and holding a particular size of steel.
Some tong types are more versatile than others, meaning they can be used for many different projects.
The type of tongs I use most often in the shop are V-Bit Bolt tongs. They have square jaws that make it easy to pick up round, square, and flat pieces of steel.
I use them for 98% of the things I make in the shop.
4. Blacksmith’s Hammers
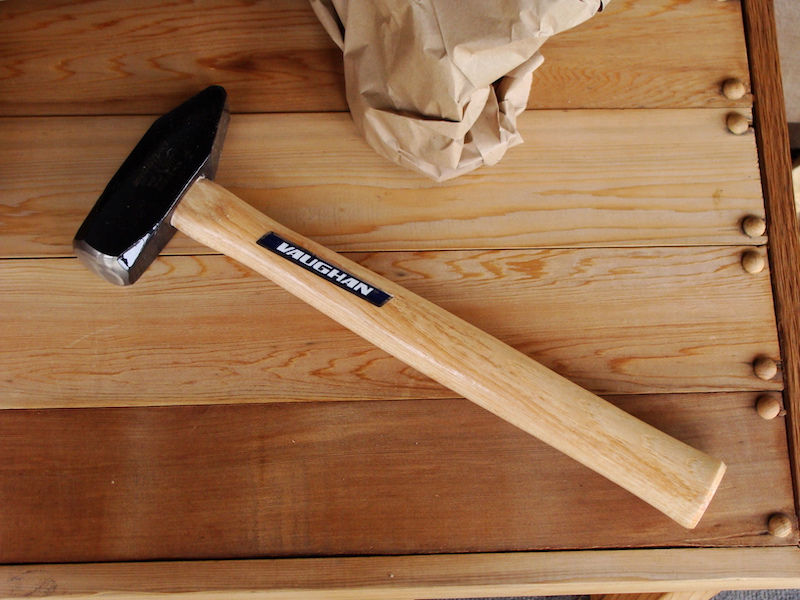
Blacksmith’s hammers are a little different from common claw hammers:
- They weigh more: 2-3 pounds vs. 1-1.5 pounds.
- They have a cross peen on the back rather than a claw for pulling nails.
You don’t need a cross peen hammer to hammer on steel, though.
As long as your hammer is at least 2 pounds and it’s manageable for you, you’re good to go.
Common phrase that we use today: To go at something “hammer and tongs” means to be fully committed and working hard.
5. Drawing Out
Drawing things out means to make them longer.
You’ve probably come across this term in everyday life if you’ve been frustrated that someone is drawing out a process that you think should already be finished.
That blacksmith term comes directly from blacksmithing.
To draw out a piece of metal, you:
- Get it nice and flat in the center of the anvil face (the sweet spot).
- Start hammering toward the end of your piece from at least a couple inches back.
- To get a better idea of the process, check out this video from Brown County Forge’s YouTube channel.
6. Upsetting
If drawing out makes things longer, upsetting is the opposite: it makes things shorter and often thicker.
You upset steel to make corners and to bulk up pieces that are too skinny.
7. Hardening and Tempering
Hardening and tempering are the two components of heat treating.
First you harden. Then you temper. Always in that order.
If you only harden your steel, it will be very tough, but also very brittle.
To make it useful you need to temper it to relieve some of that brittleness.
You’ve heard the phrase “to lose your temper.”
This comes from blacksmithing.
If you lose your temper, you’ve probably gotten your piece of steel hotter than you meant to. You’ve lost control.
The same is true when we lose our tempers. We’ve lost control.
If you’ve ever been in one of my classes, you’re familiar with a couple types of tempering:
- The soft back draw temper which is what we do in class.
- The oven tempering process – something you can do at home.
8. Losing Your Heat
As blacksmiths we need the metal to be nice and hot to be able to work it effectively.
If you lose your heat that means the metal has gotten too cold – usually around cherry red in color.
When you’re first starting out this can feel kinda stressful, but it doesn’t need to be.
If you lose your heat, you just put the steel back in the forge and heat it again.
There’s never a rush in blacksmithing. If you’re rushing, there’s something wrong.
9. Quenching
Quenching is an essential part of the blacksmithing process.
Contrary to movies and TV shows, you don’t quench everything that comes out of the forge once you’re done hammering.
Quenching is a controlled, intentional cooling of the metal to get a specific result each time.
When you quench a knife, you mean to harden it so it’s nice and tough. This is the first half of the heat treating (hardening and tempering) process.
If you quench part of a hook to make a bend, you won’t necessarily want to leave it hardened. So you will heat it back up to reverse the quenching process.
What do you use to quench?
The quenching liquid that we use will vary depending on the project:
- For fast localized quenching, we use water. This is common when you’re making hooks and other decorative items.
- In knife making, we use oil. Motor oil is common, but I prefer vegetable oil. It’s a good, inexpensive quenching oil. It also smells a lot better than burning motor oil.
9 Common Blacksmith Terms

The world of blacksmithing is full of blacksmith terms, but there’s just a handful to get you started.
From the anvil to basic tools to quenching, there’s a lot to get into.
If you’d like to keep learning more, check back on this blog regularly for new posts!
You can also send me questions at the shop email address:
browncountyforge@gmail.com
Thanks for reading!