How to Hang Oars On a Wall in 4 Steps
After hammering out hundreds of pairs of boat oar hooks, I have some tips and tricks for how to hang oars on a wall.
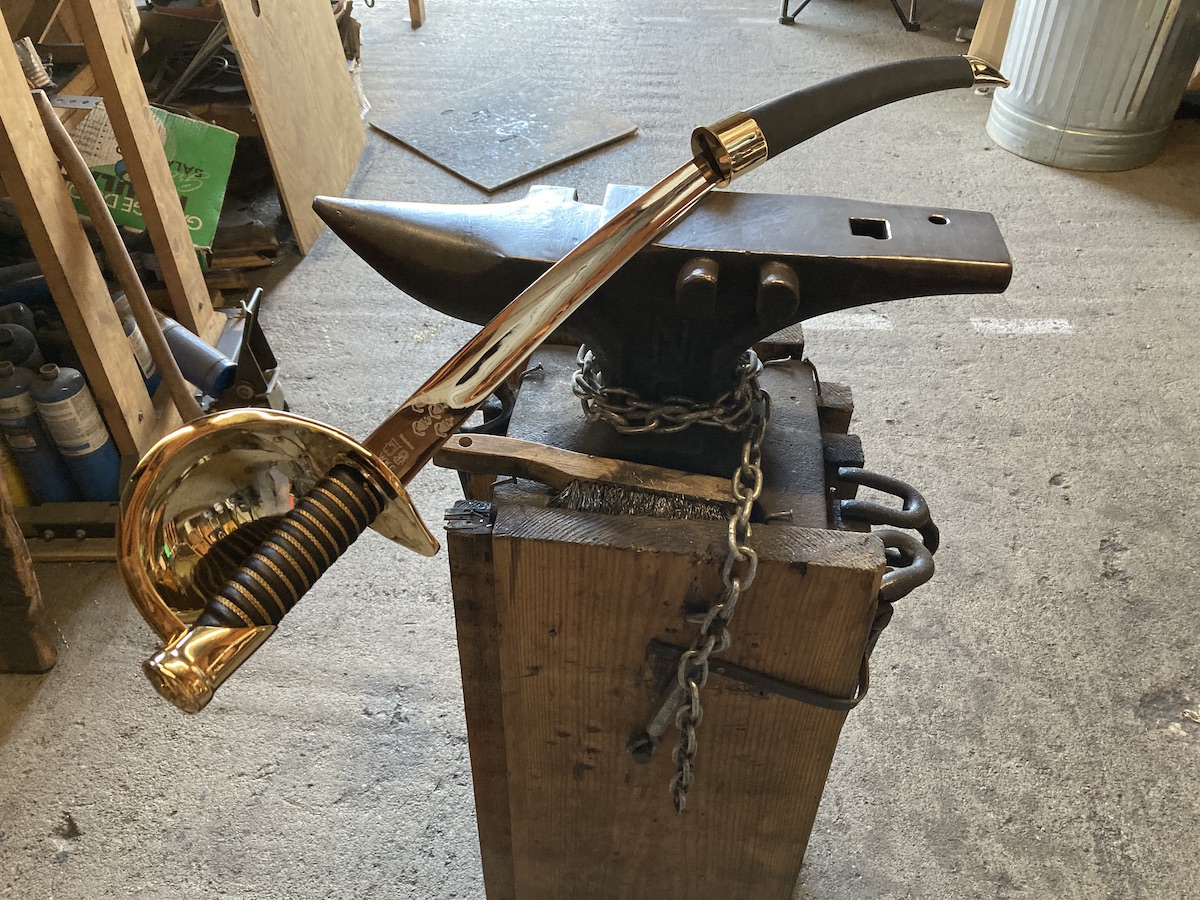
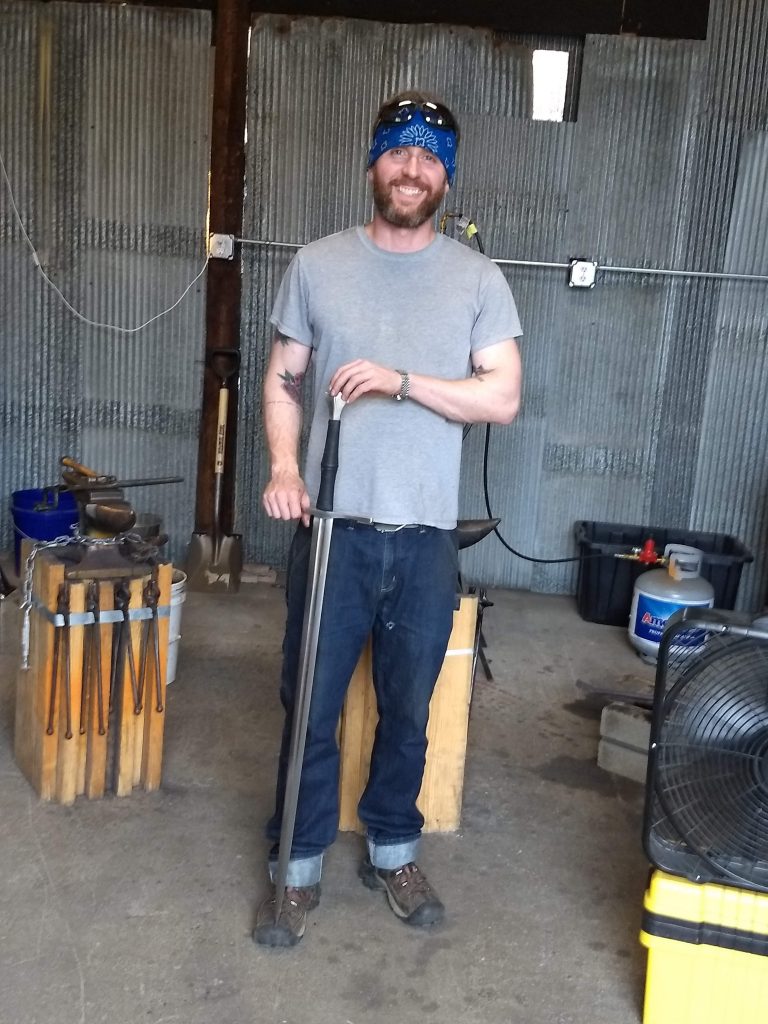
My name is Terran Marks and I’m the blacksmith at Brown County Forge. If you have an oar to hang, here’s how I would do it.
Step 1: Measure Your Oars to Find Your Hook Width
Not all boat paddles are the same size so you’ll need hooks that will fit your particular oar.
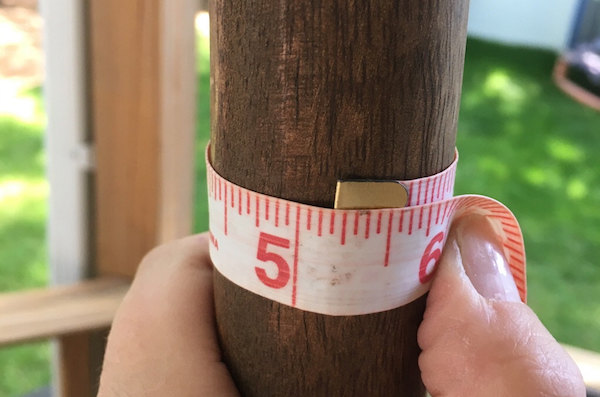
The easiest way to measure your oars is to measure across the oar for a diameter measurement.
Using a ruler or tape measure, rest your measuring device on top of the oar.
Where the edges of the oar handle hit is your rough diameter.
That’s the measurement we’ll use to make the hook.
The most accurate way to measure your oars is to wrap a string one time around the oar handle to find the circumference.
Then, with a little math we can find the diameter and then the hook width.
Step 2: Research Hooks Online to Find Some that Will Fit
Now that you have your measurements, you’re ready to venture into the world of hooks and hangers online.
I’m consistently amazed at the variety of ways people have come up with to keep things off the ground.
Make sure your oar hangers come with screws and that they’re the correct size and length.
- You don’t want to have to run around to five hardware stores trying to find the right screws.
- You want a little bit of space around the oar shaft so it doesn’t get scraped as you put it on the hooks. I recommend looking for sizes at 1.5 inches, 2 inches, and 2.5 inches.
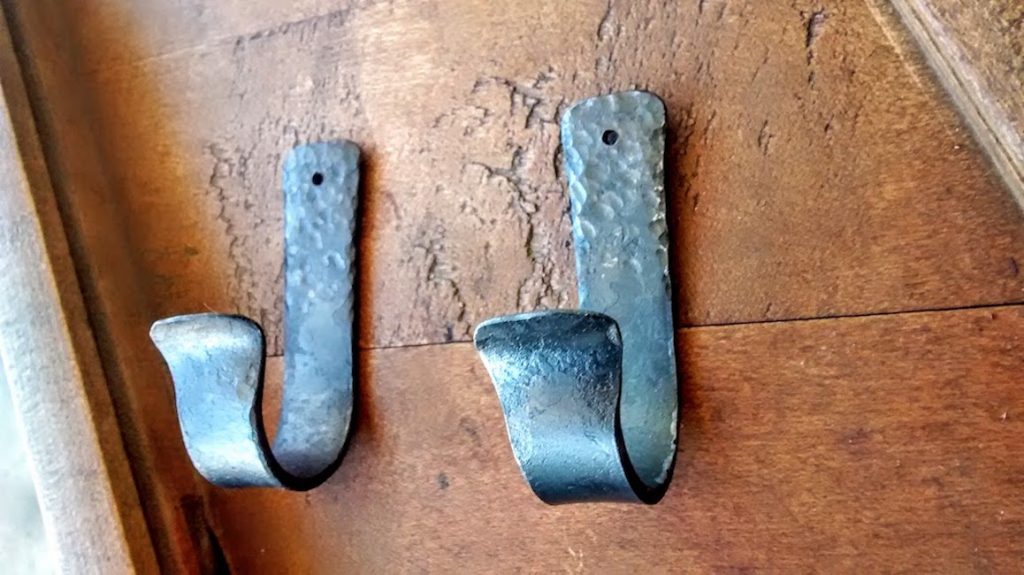
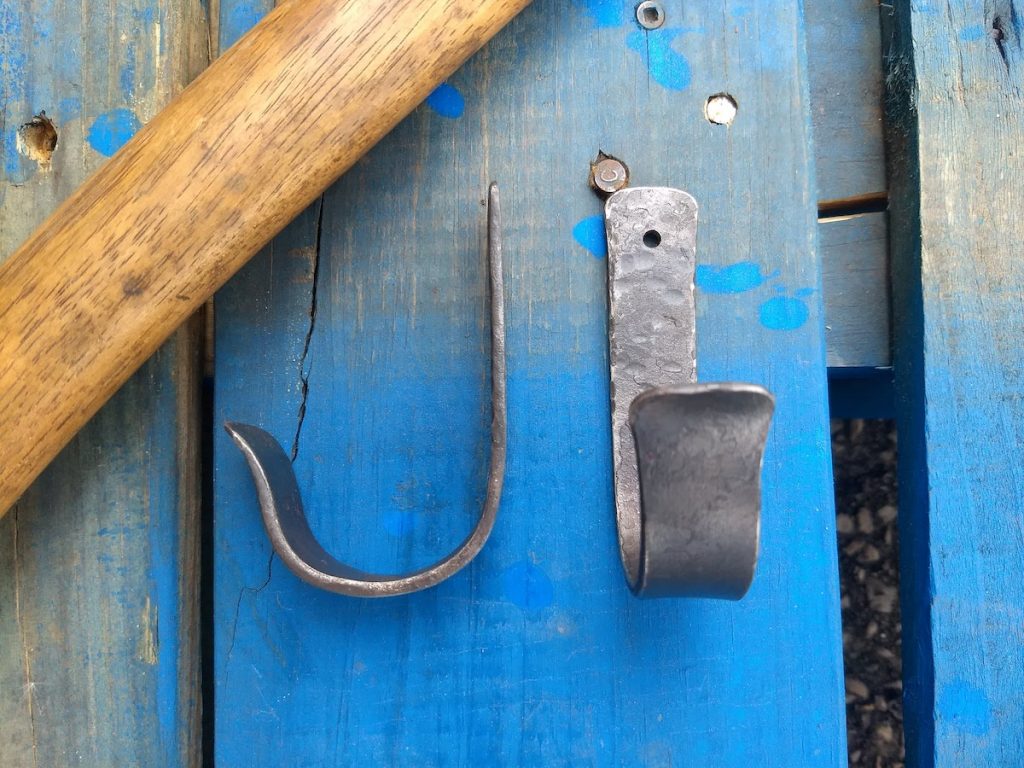
- Brown County Forge’s Oar Hooks Available Here
Step 3: Your Hooks Have Arrived. Now Let’s Hang Them!
For the most secure mount, you will want to screw your hooks into studs.
Depending on the construction of your home, your wall studs will be either 16 inches on-center or 20 inches on-center. That just means that every 16 inches (or 20), you will hit the center of a wooden stud.
Using a stud finder is a safe bet to be sure you’re mounting into solid wood.
That last thing you want is to mount your hooks in plain drywall and risk your heavy oar coming crashing down.
I recommend drilling pilot holes first to make it easier to place your screws when it’s time.
Before you drill ANY holes, make sure your two hole heights from the floor match! Unless you want your oar to tilt, it’s best to use a tape measure to measure from the floor up to your desired oar mount height.
Mark lightly with a pencil. Then drill your pilot holes.
Step 4: Mount Your Oar or Paddle on the Wall
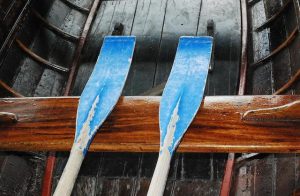
And that’s how to hang oars on a wall in 4 simple steps!
Now you can enjoy your securely mounted oars for years to come.
Maybe your oar is from your college days of rowing crew.
Maybe it’s an antique store find.
Or maybe it’s an authentic gondola oar from Venice to remind you of your honeymoon!
No matter the size, weight, or length, there’s a custom pair of oar hooks waiting to be made for you.
Brown County Forge’s Oar Hooks
Throughout this post, you’ve seen examples of the oar hooks I make as well as more budget-friendly options.
Brown County Forge’s Oar Hooks Available Here
I’m Happy to Answer Any Questions
I’m always happy to answer questions about hardware and hooks.
Please email me directly at: