This is the first video in a series of videos about how we make things at Brown County Forge. We’re very partial to the written word, but sometimes seeing the process in action trumps everything else.
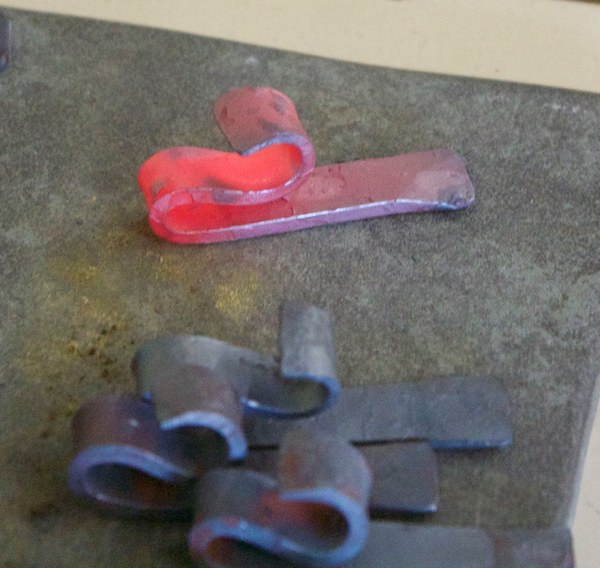
The following video is an unedited 7 minutes. In it you’ll see Terran forge three bottle openers simultaneously using basic techniques like flattening, bending, scrolling, and forge management. While one soon-to-be bottle opener is going in the forge, another is coming out to get worked on. We hope you enjoy it!
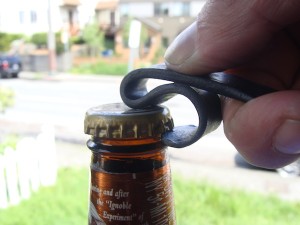
And the finished product doing its job: