In this grinding and shaping knife profiles section, we will cover:
- Knife shape
- Metal preparation
- Grinding
The bushcraft template we will be using for our first knife has a simple design without extreme curves.
This makes it easy to cut out of a piece of 1.5″ wide bar stock without too much additional material to grind off.
Before we start laying out your knife design and shaping it, we should address annealing. We’ll do that in the next section.
Annealing Knife Steel before Grinding
The 1084 steel that we purchased from Online Metals has already been annealed.
If you are buying from another supplier, you will want to ask if it has been annealed.
If it hasn’t been annealed, you will need to do this before grinding onit.
Annealing means to alter the properties of the steel to increase its ductility (flexibility, adjustability) and reduce its hardness.
In very simple terms: Annealing makes it soft enough to more easily grind it to shape.
If you’re using a piece of “mystery steel” that you know is high carbon, you will want to anneal it before grinding and shaping.
*Any hardness we remove during annealing will be “put back” later during Heat Treatment.
How to Anneal
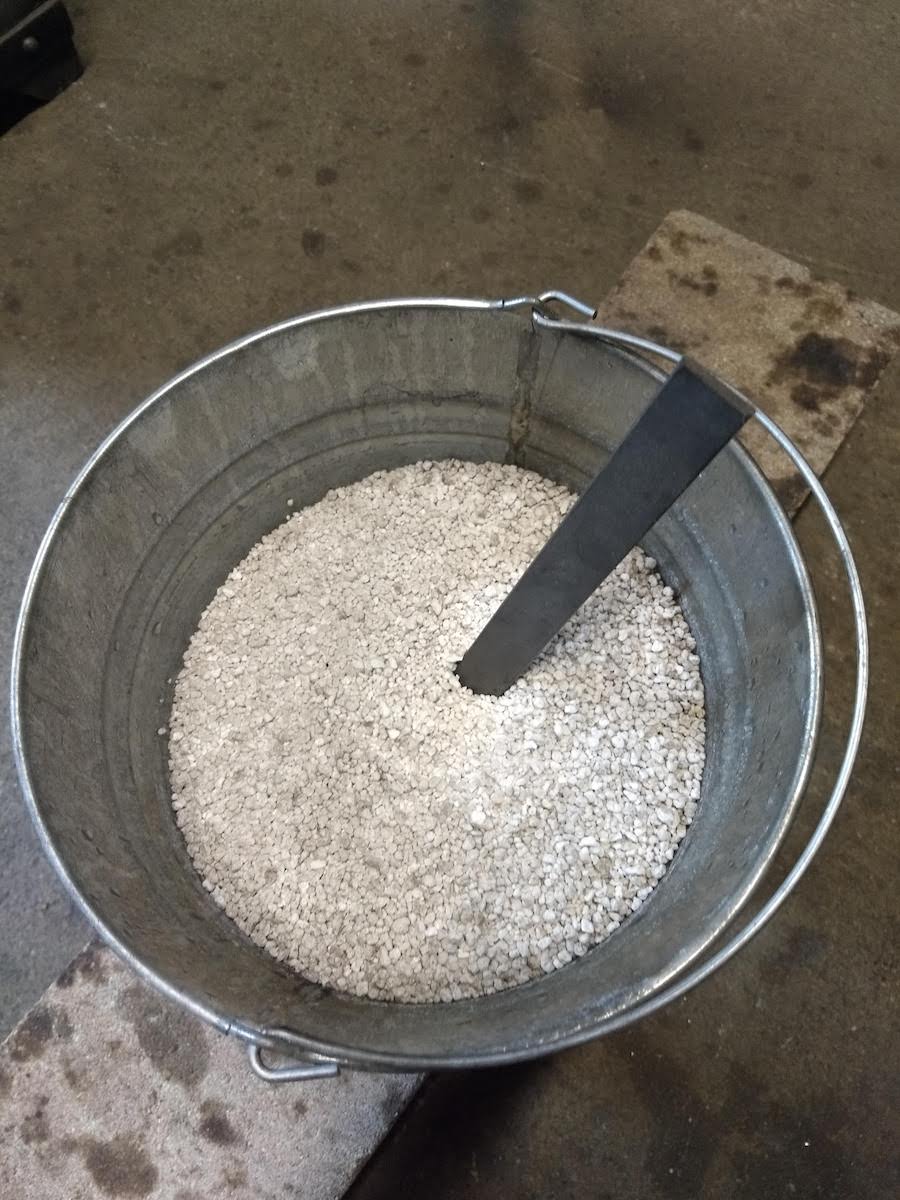
To anneal a hardened piece of steel:
- Fill a metal bucket with wood ash, sand, or perlite. This will act as an insulator and will slow the cooling process.
- Get the steel cherry red in your fire.
- Test it with a magnet.
- If the steel is still magnetic, get it a little hotter.
- Once it no longer attracts the magnet, place it in your bucket filled with wood ash, sand, or perlite.
- Allow it to cool completely. This can take several hours in some cases.
- Continue with grinding and shaping now that your steel is annealed.
What we’ve done in those seven steps is change the chemical structure of the steel.
We have rearranged the molecules and caused them to vibrate so fast that they lose their magnetism.
Then we put the steel in our wood ash or sand to control how slowly it cools.
This slow dissipation of heat is what keeps it softer.
*You can anneal at room temperature, too. Just set your steel in an area that you’ve designated as a “Hot Metal Cooling Area” and leave it alone until it has cooled down.
Remember: Since our steel has already been annealed, we don’t need to concern ourselves with this, but it’s valuable information to have.
Next let’s go over Knife Templates and Shaping.
Knife Templates for Grinding
It’s much easier to start with a template than to freehand your knife design.
The Internet makes it very easy to find all different kinds of knife templates for free.
To find a suitable one, I did a search for:
“bushcraft knife template”
I then picked a design that I liked that had a clear, black outline on white.
This makes it show up better when printing it off.
Bonus: To make it even easier for you, I’ve included a PDF template for you to use: Bushcraft Knife Template
You can download it and increase or decrease the size as needed before printing.
Using the Knife Template
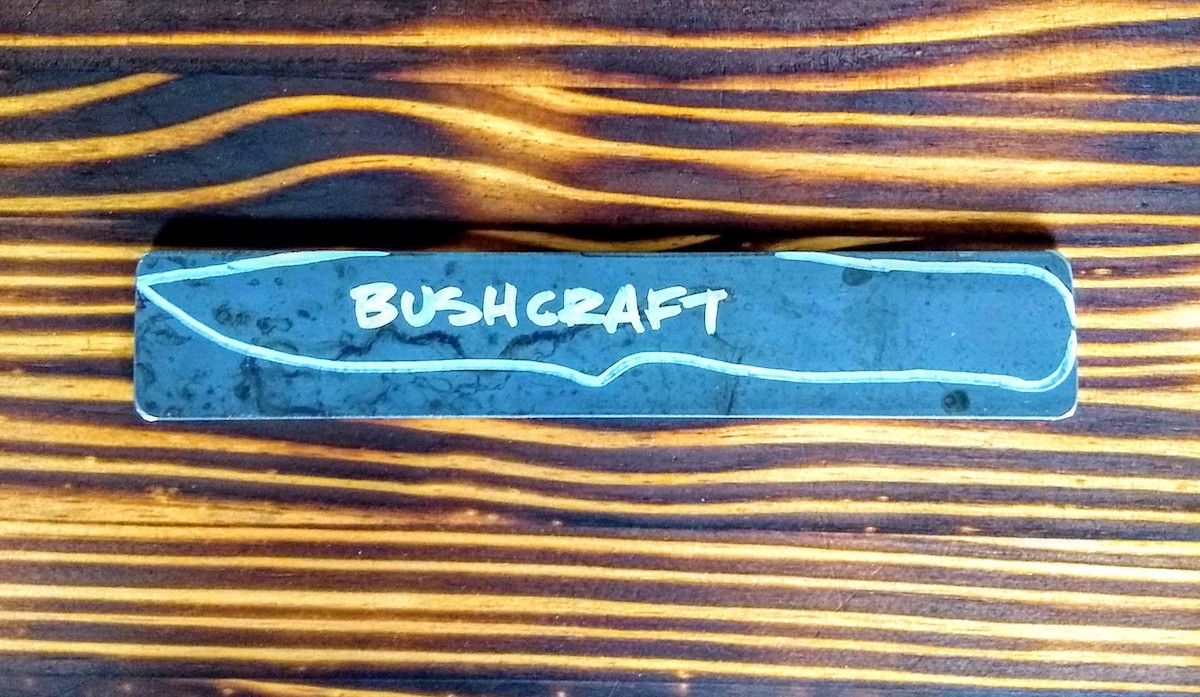
Once you have the template cut out, we will trace the design onto our piece of steel starting with the butt of the knife at the very end of the piece.
This makes it so we have to cut and grind less. It also leaves us more material on the other end to make another knife if we’d like.
To make it easier, I like to cut out the knife shape after printing it and glue it to a piece of card stock or thinner cardboard.
That way I can trace it a few times before it gets too beat up.
Next we’ll cover Cutting, Grinding, and Shaping.
Cutting, Grinding, and Shaping the Knife Blank
Now that the steel is softened up and we have our design layed out, we can start to cut and shape it.
With the bushcraft knife, we will cut out the basic shape leaving some extra material outside the tracing.
It’s better to have more to work with than less at this stage.
I take my time with this part of the process. It’s easy to get carried away and grind too much.
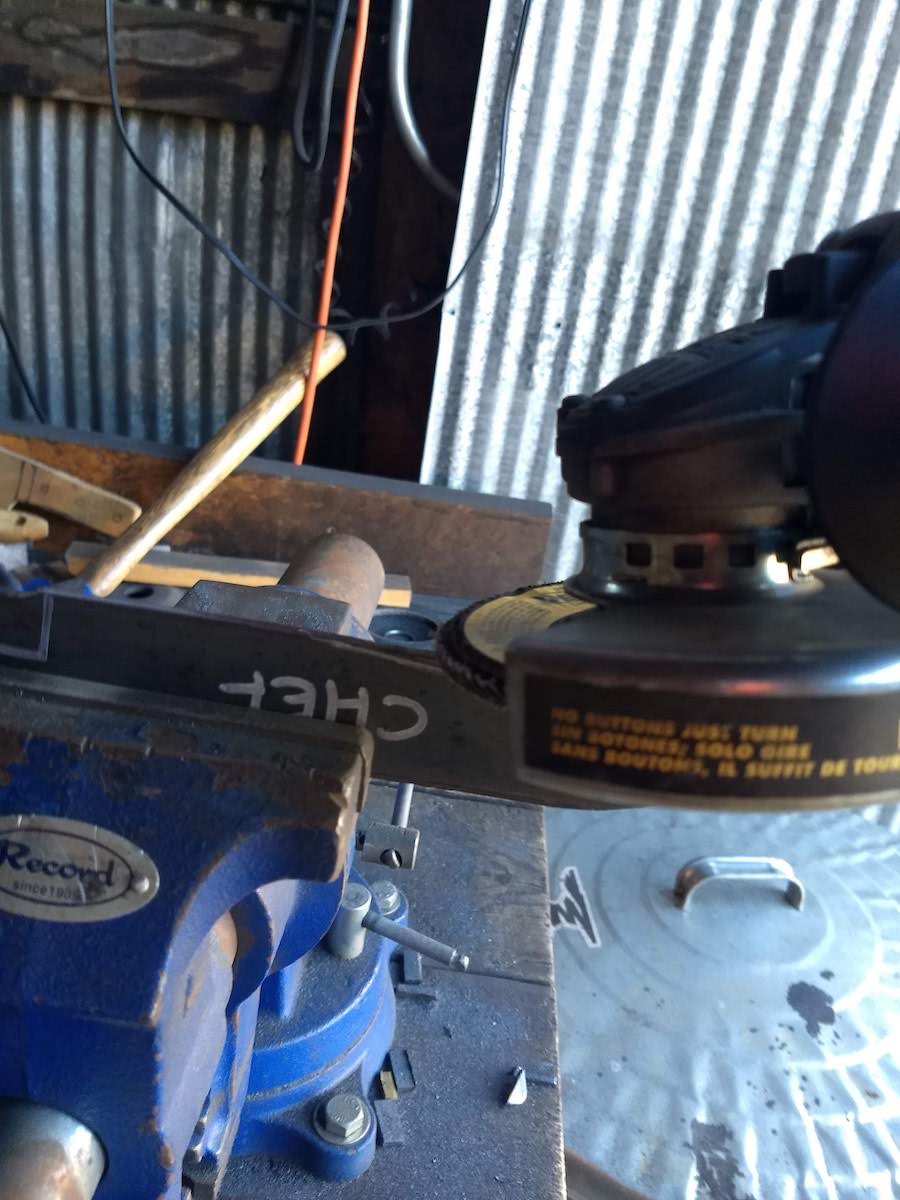
In the photo below, we have the bushcraft knife clamped securely to the top of the workbench:
![]()
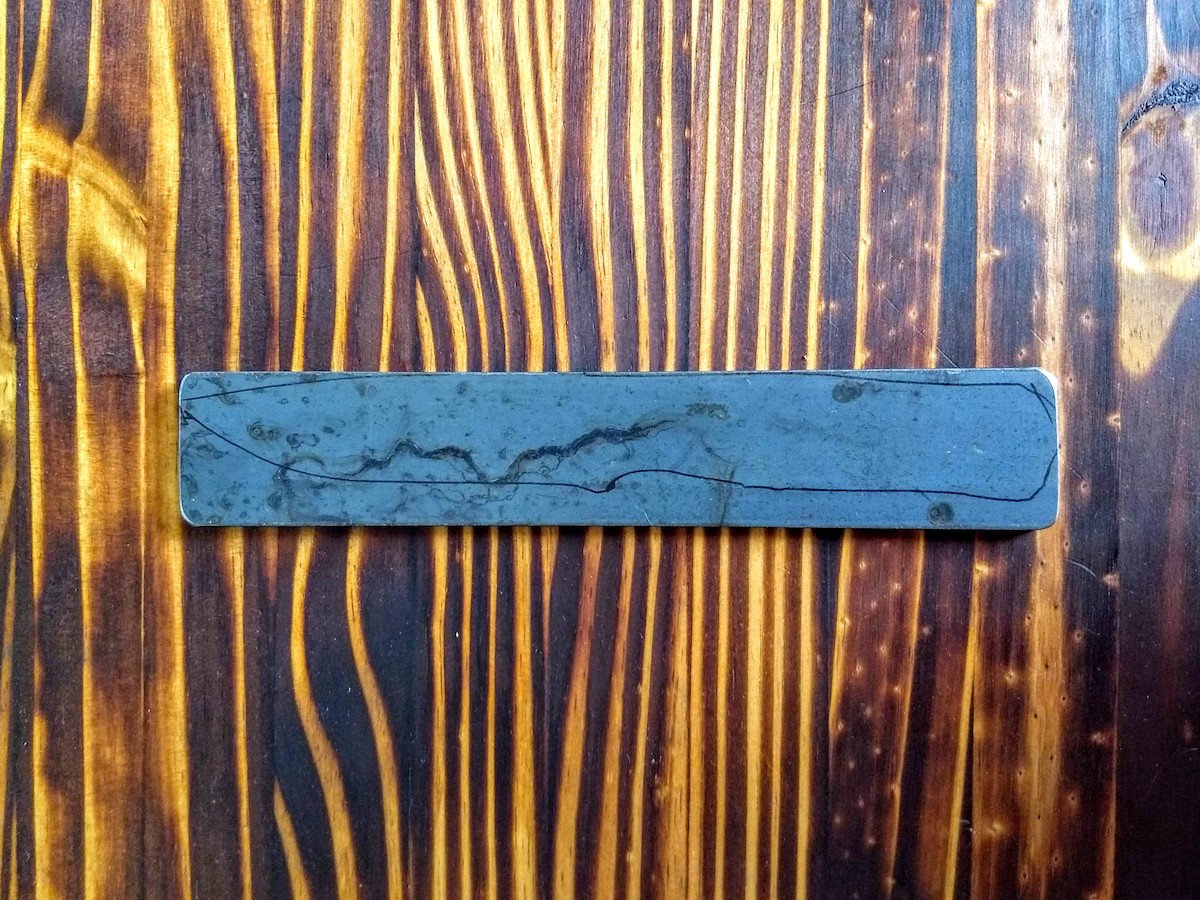
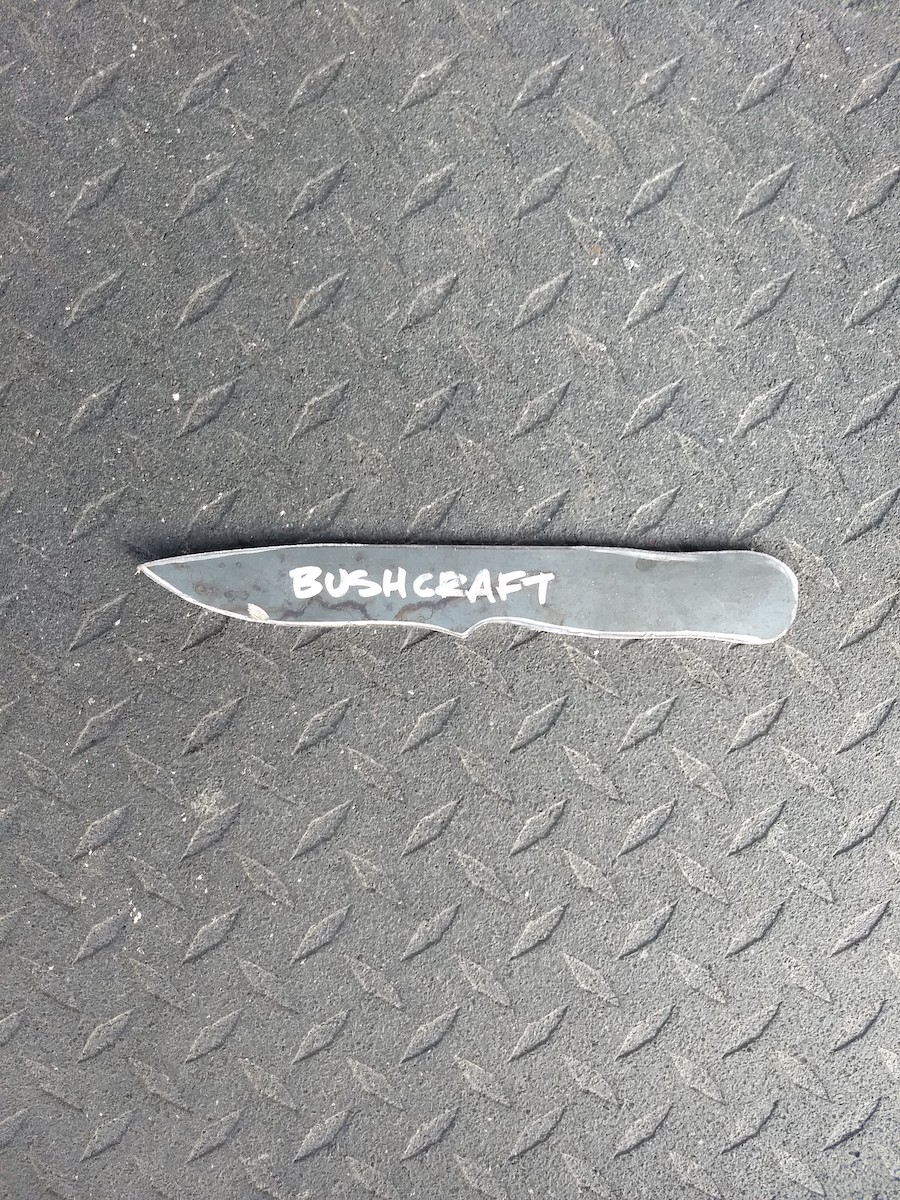
Here is the basic shape of the knife roughed in, but before grinding and shaping. Notice that there is some material left around the edges of the outline.
![]()
Next we’ll go through how to use three different methods for shaping:
- Bench Grinder
- Angle Grinder with a Flap Disk
- Hand Filing
Using a Bench Grinder for Shaping
The small shelf on most bench grinders comes in handy for this part.
I place the cut out knife blank on the shelf and make multiple passes against the grinding wheel to get my shape.
I don’t try to take too much off with any single pass.
It’s more of a gradual removal process.

Here the rough grinding is complete. The slight curves of the blade and handle are showing up now.
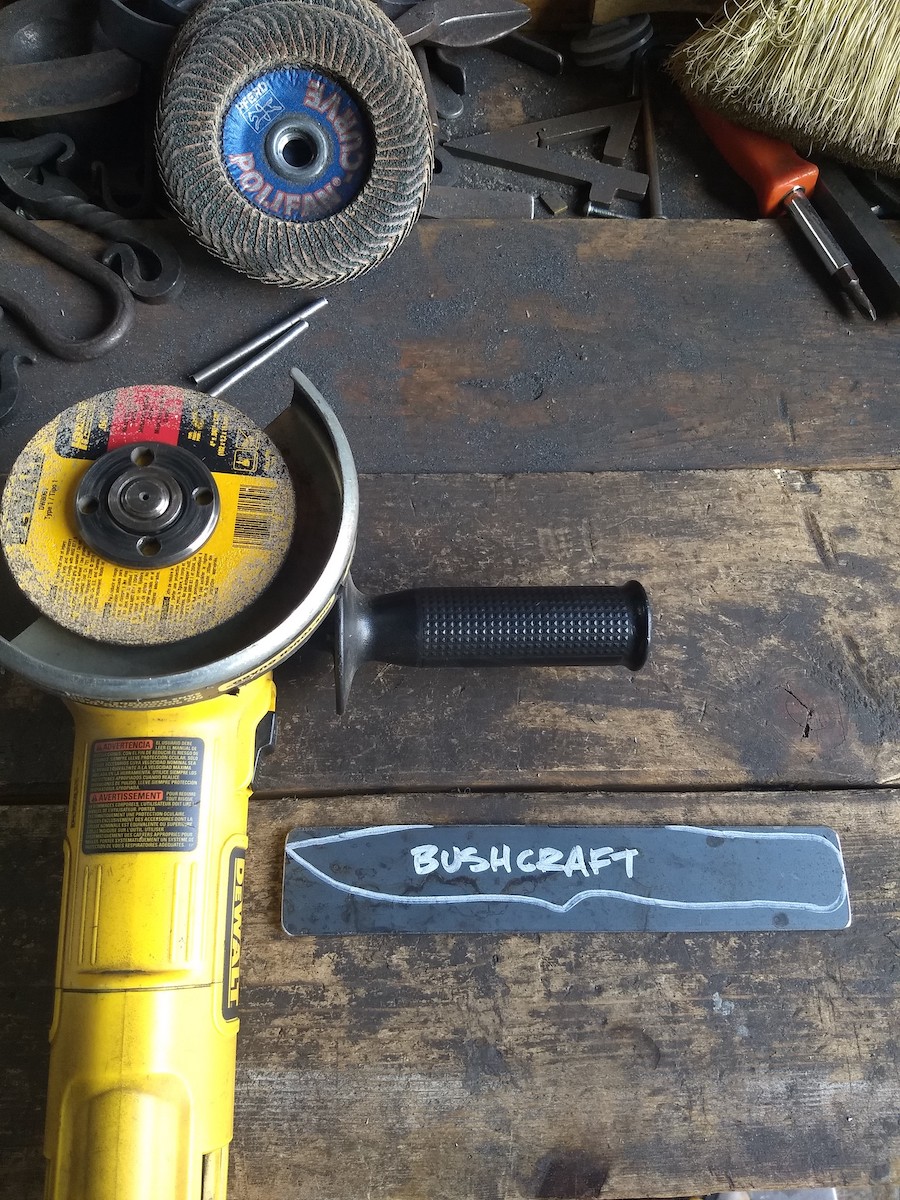
Using an Angle Grinder with a Flap Disk for Shaping
For this method, you will need clamps or a vise to hold your knife blank.
If it’s available, I prefer to use a bench vise with the knife clamped slightly proud (sitting above the jaws).
This gives me access to the entire length of the knife.
I work the spine side of the knife to shape it.
Then I flip it over and work the blade side.
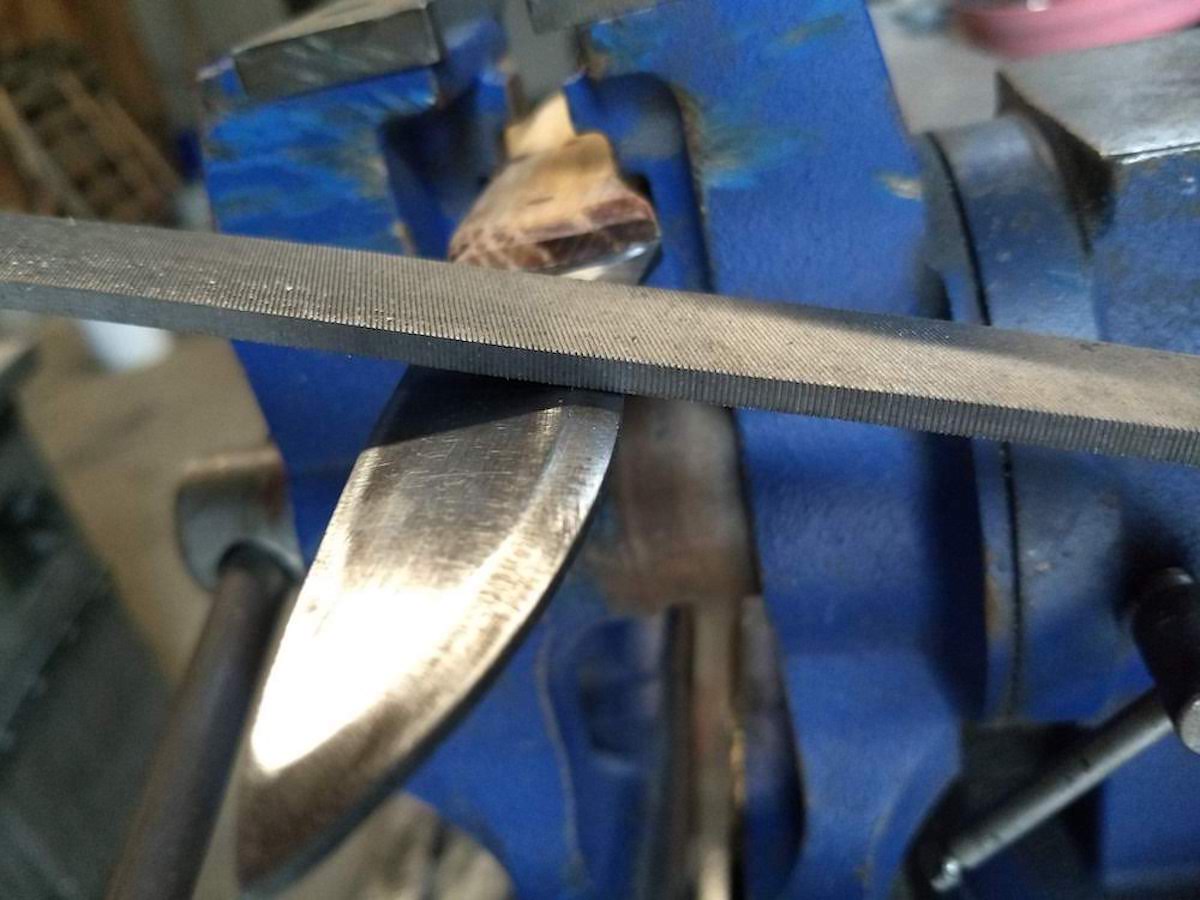
Using Hand Files for Shaping
- Start with the coarse metal file to remove big chunks of metal that couldn’t be easily cut away.
- Then use the fine grit metal file and round file to fine-tune the overall shape.
This hand file process only has two steps, but they’re long steps since no power tools are involved.
Setting the Bevel of Your Blade | Sharpening
Each knife style has an optimal bevel related to its function.
The bushcraft knife needs a bevel that will cut well, pierce well, and hold up under heavy outdoor work.
The ideal bevel grind for it is the Scandinavian or Scandi Grind.
It’s an abrupt, short-angled bevel with a strong edge that doesn’t chip easily.
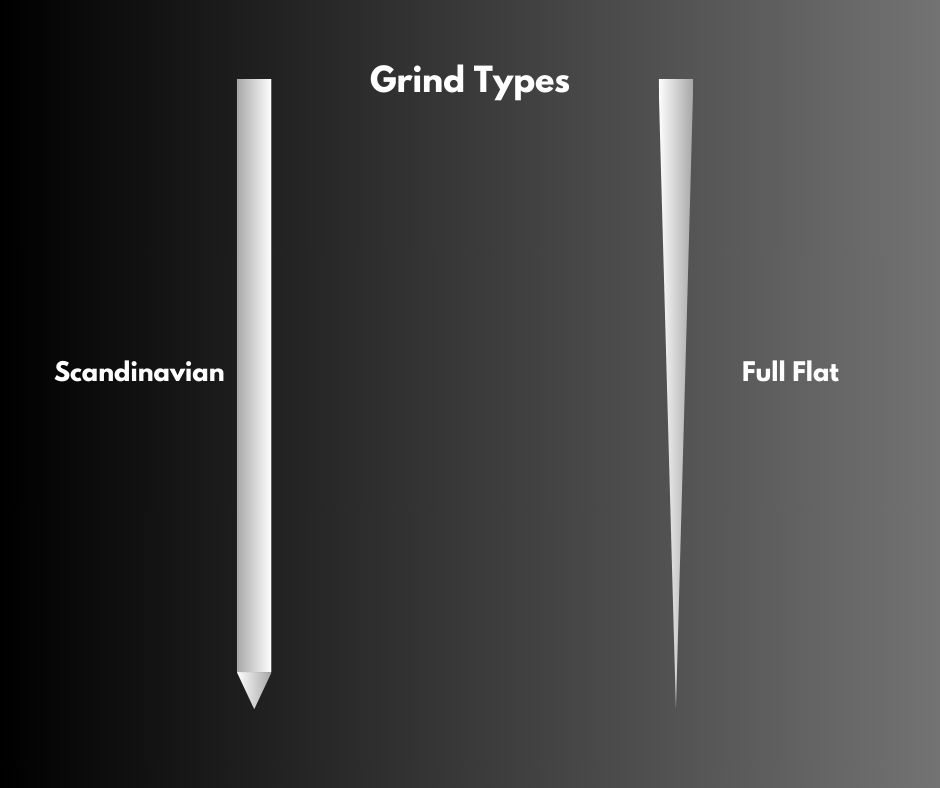
To compare, a Full Flat Grind goes all the way from the spine to the blade edge.
The full flat grind allows the blade to be extremely thin and sharp. This is great for slicing, but not as sturdy as grinds that leave more material in the blade.
*Once you pick the grind for each knife, that is what you should stick to. Changing the grind on a knife will affect its durability.
How to Set the Bevel
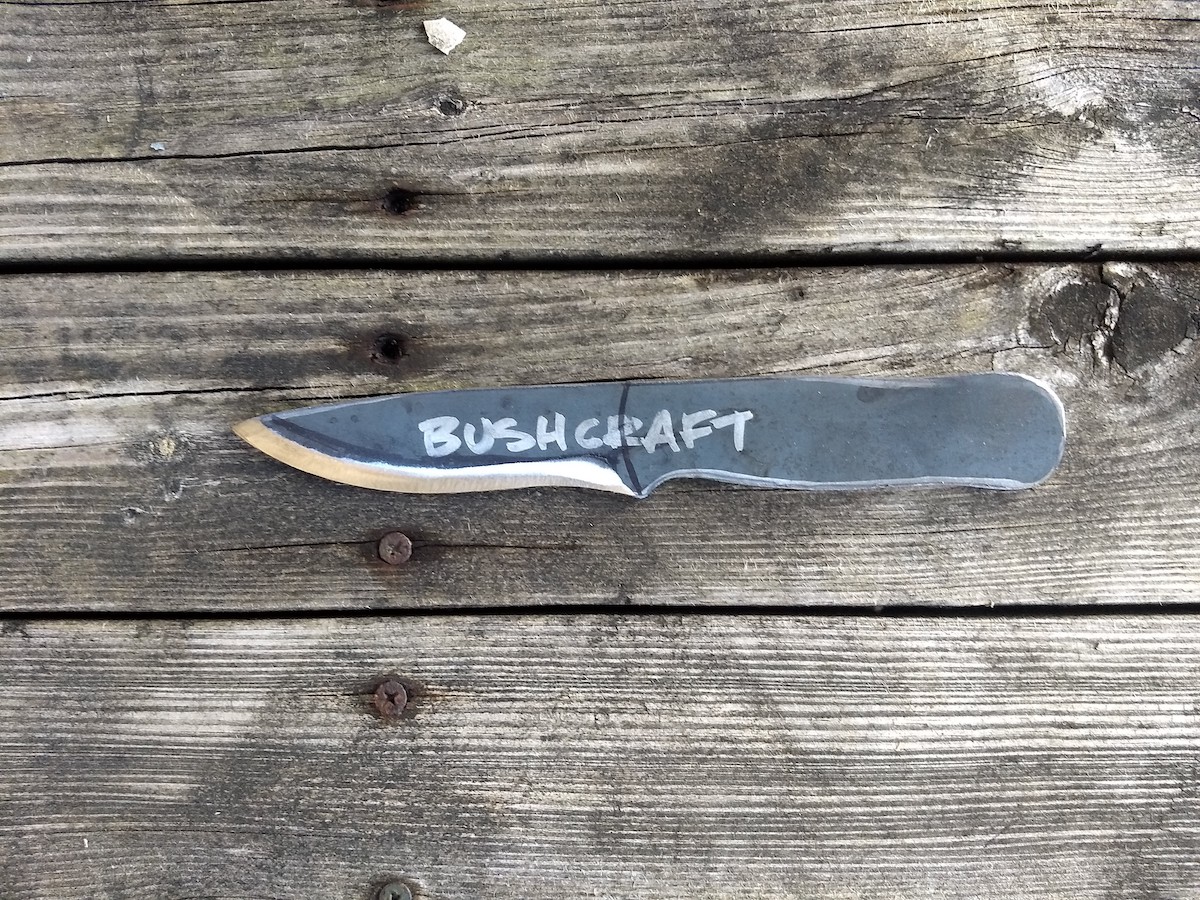
Since bushcraft knives feature an abrupt edge bevel or grind, we will use an angle of 20-degrees and aim to make the bevel 1/4-inch wide.
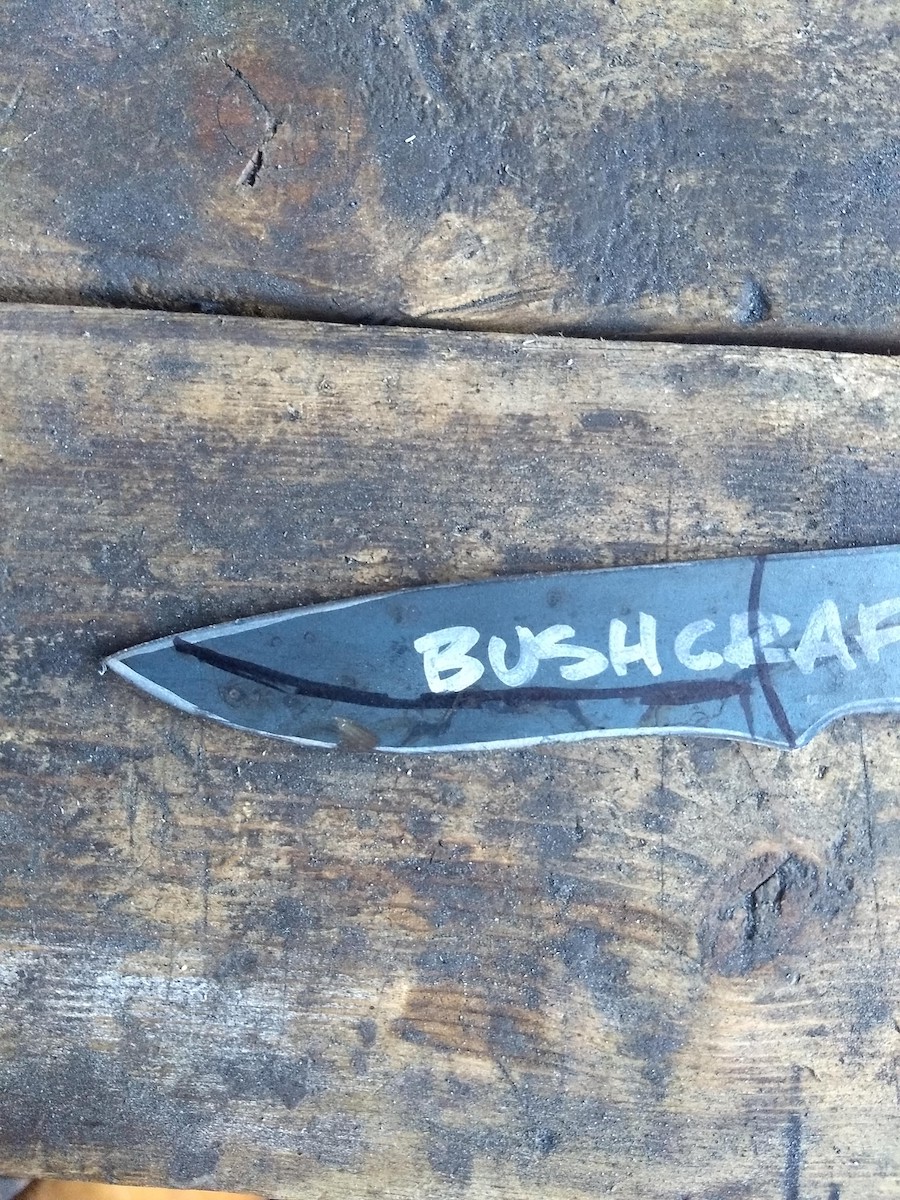
I will mark up my knife so I can see how much I need to take off.
You can set the bevel using an angle grinder with a flap disk if you’re careful and patient about it.
My preferred method is to start with the angle grinder and finish with a hand file.
The angle grinder will do the heavy lifting and the hand file will fine-tune the edge.
Follow the same 20-degree angle using both tools.
*When using the angle grinder to set a beveled edge, do a few light passes first.
Then check your work to see where you need to make adjustments to your angle.
Work one side for a few passes and the flip it over to work the other side.
The goal is to make the two sides meet in the middle evenly.
Once the bevel is set (see photo below) and we’ve polished up the entire blade, we’re ready to harden the knife.
 Next Up:
To understand the hardening process, go to: Heat Treating Your First Knife