In this lesson, we’ll go through the tool list for knife making.
Tool Overview for Knife Making
One of the great things about both knife making and blacksmithing is that you don’t need a ton of tools to do them.
This course focuses on making knives with the bare minimum of tools.
This helps to keep costs down while you’re trying it out.
*Note: There will be times throughout this course when I offer recommendations on equipment I like to use that will speed things up.
Here is the minimum you will need for knife making in simple terms:
- Something to cut the steel.
- Something to shape the steel.
- A heat source hot enough to reach hardening temperature (This doesn’t have to be a blacksmith’s forge. We’ll cover this in the Heat Treating section.)
- An oven or propane torch for tempering.
- A container to fill with our quenching material.
- Safety glasses and hearing protection.
- Hand files for shaping the steel.
- Simple woodworking tools like a rasp and a coping saw.
- Epoxy for attaching handles.
- Clamps to hold the wood and steel together while the epoxy cures.
That’s 10 items that we can’t easily do without if we want to make knives.
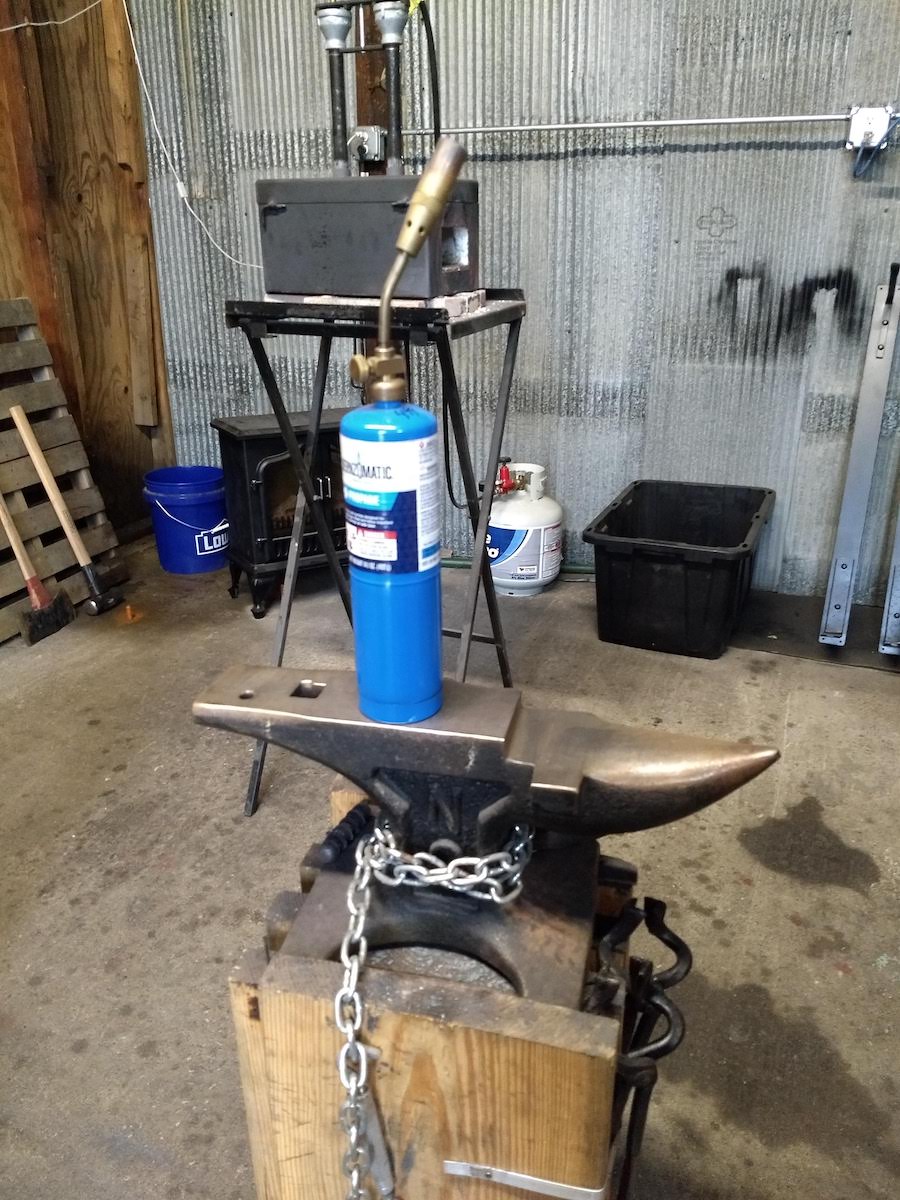
No forge needed?
You’ll notice that I didn’t mention a forge.
A forge is handy for getting the high temperatures we need for hardening, but it’s not necessary.
We can substitute a wood fire or charcoal grill to get the steel hot enough to harden it.
If we can get the wood or charcoal to glow orange, we have enough heat to harden.
Stock Removal Knife Making
The second reason we don’t need a forge (or an anvil) is that we will be using the stock removal method for knife making.
I prefer to use this method as a starting point precisely because it doesn’t require a lot of equipment.
And we’re all familiar with knives made with this method.
If you’ve ever used a Buck Knife, Victorinox (Swiss Army Knife), Kershaw, Gerber, or any other knife from a large manufacturer, you’ve used a knife that was made by stock removal.
In these large factories, they use a computerized template to cut tens of hundreds of knives out of a single sheet of high carbon steel.
The knives are then ground and sharpened before heat treating and handling.
We will be using a similar method, but doing it by hand, one knife at a time.
Our stock removal method differs from forging blades in that there is no hammer work involved.
By leaving forging out of the process, we cut down on costs and make it much easier to make a great looking knife on the first try.
As much as I enjoy hand-forging knives, it is much harder to get right on the first attempt.
Now let’s break down each of the 10 essential knife making tools and items on our list.
1. Something to Cut the Steel
I kept this description broad to include any manner of metal-cutting tools.
My personal preference is to use a cut-off disk in my angle grinder.
It’s quick and the disks are inexpensive.
The tool I use is a DeWalt 4-1/2 inch angle grinder.
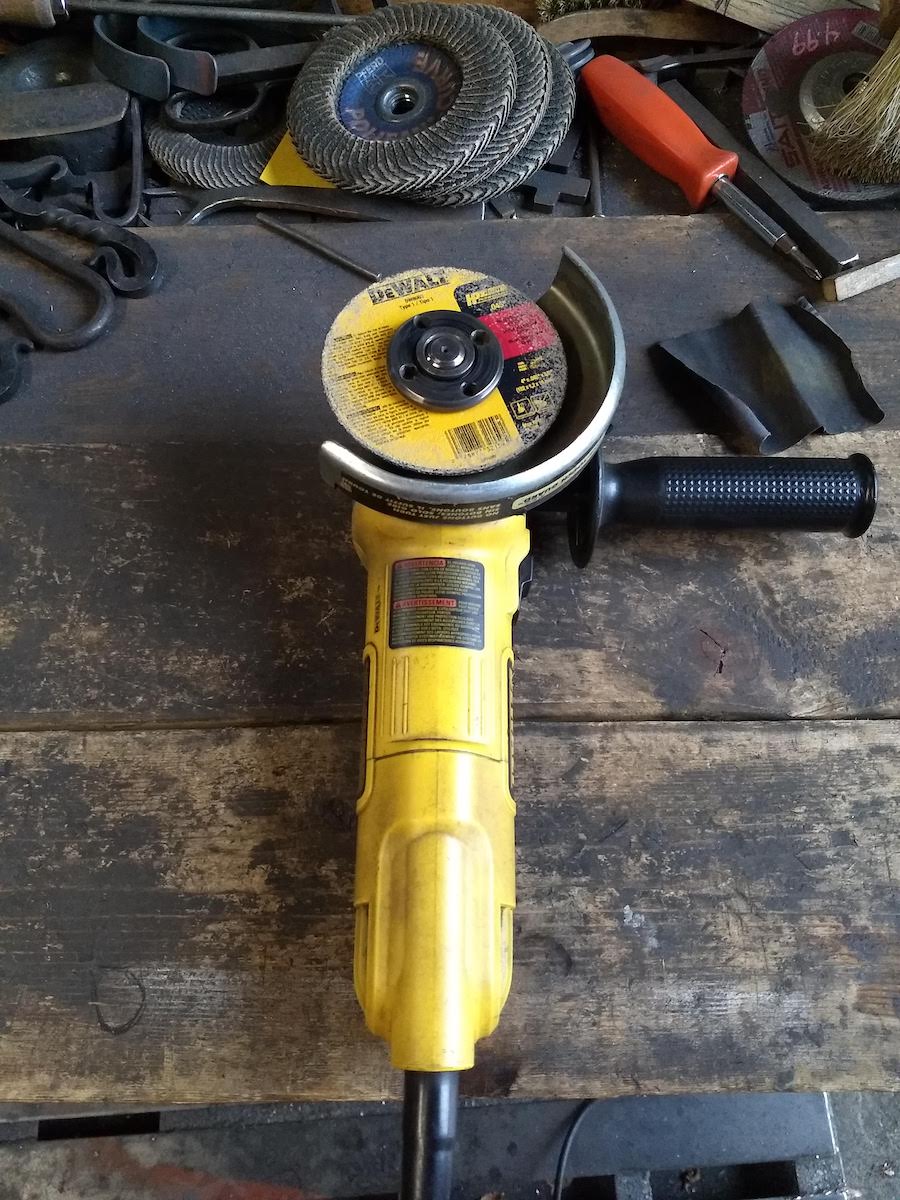
After using it for thousands of projects, it has more than paid for itself.
*If you don’t have an angle grinder and don’t want to spend the money on one, you can get by with a hacksaw and some elbow grease.
At this point in my in-person classes I step onto my soapbox for a minute and talk about How to Price Your Time.
I won’t do too much of that here, except to say that there is an upper limit to the amount of time I like to spend on any single step of a process.
Your time is extremely valuable.
If a tool can speed up the process and it pays for itself within a few hours, I’ll purchase that tool.
2. Something to Shape the Steel
If you have an angle grinder, it can double for this tool.
You would switch out the cut-off wheel for your regular abrasive wheel or for a flap disc.
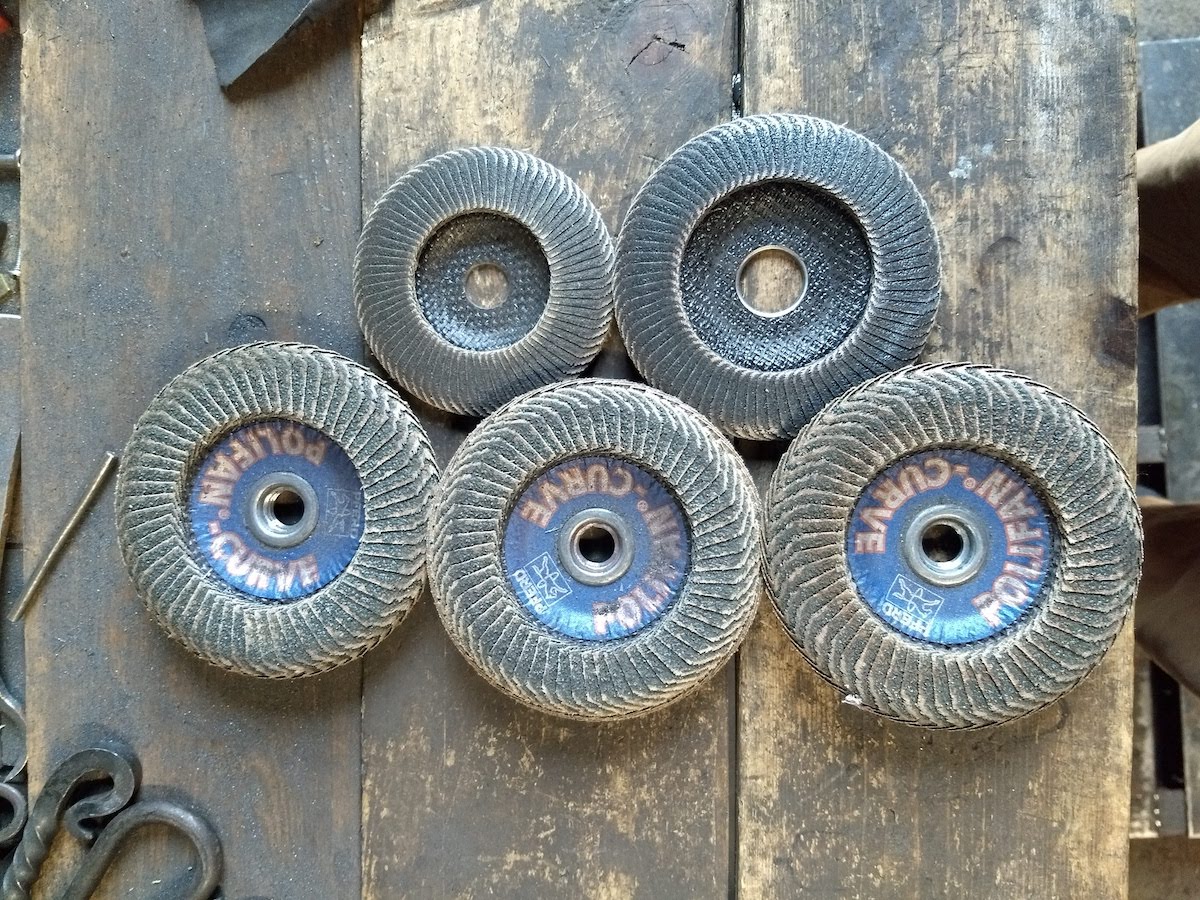
I like using flap discs to shape the metal since they are less aggressive, easier to control, and do a great job.
You can get them in multiple grits depending on how much material you want to take away and how quickly you want to do it.
I recommend Benchmark Abrasives in 60 Grit.
Bench Grinders
For this guide, I will also be using a standard bench grinder to create the knife profile (overall shape) of the knife.
My grinder pictured here is a bit more powerful than normal so it can operate a 2×36 belt attachment effectively.
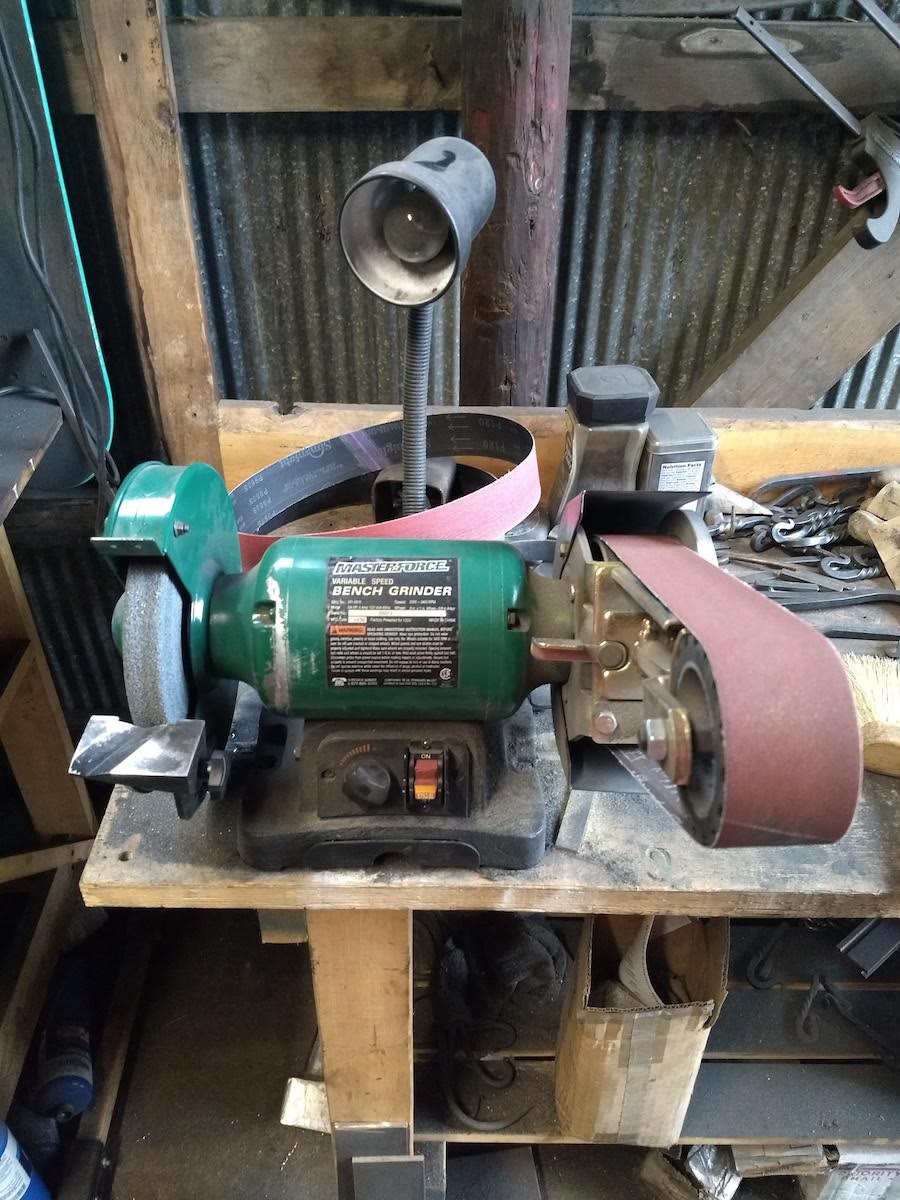
You don’t need your grinder to be that powerful. You can use a standard Delta, Porter Cable, or Bauer (Harbor Freight) bench grinder.
Rule of Thumb: If it grinds and removes material without bogging down the motor, we’re in business.
Shaping Knives Without Power Tools
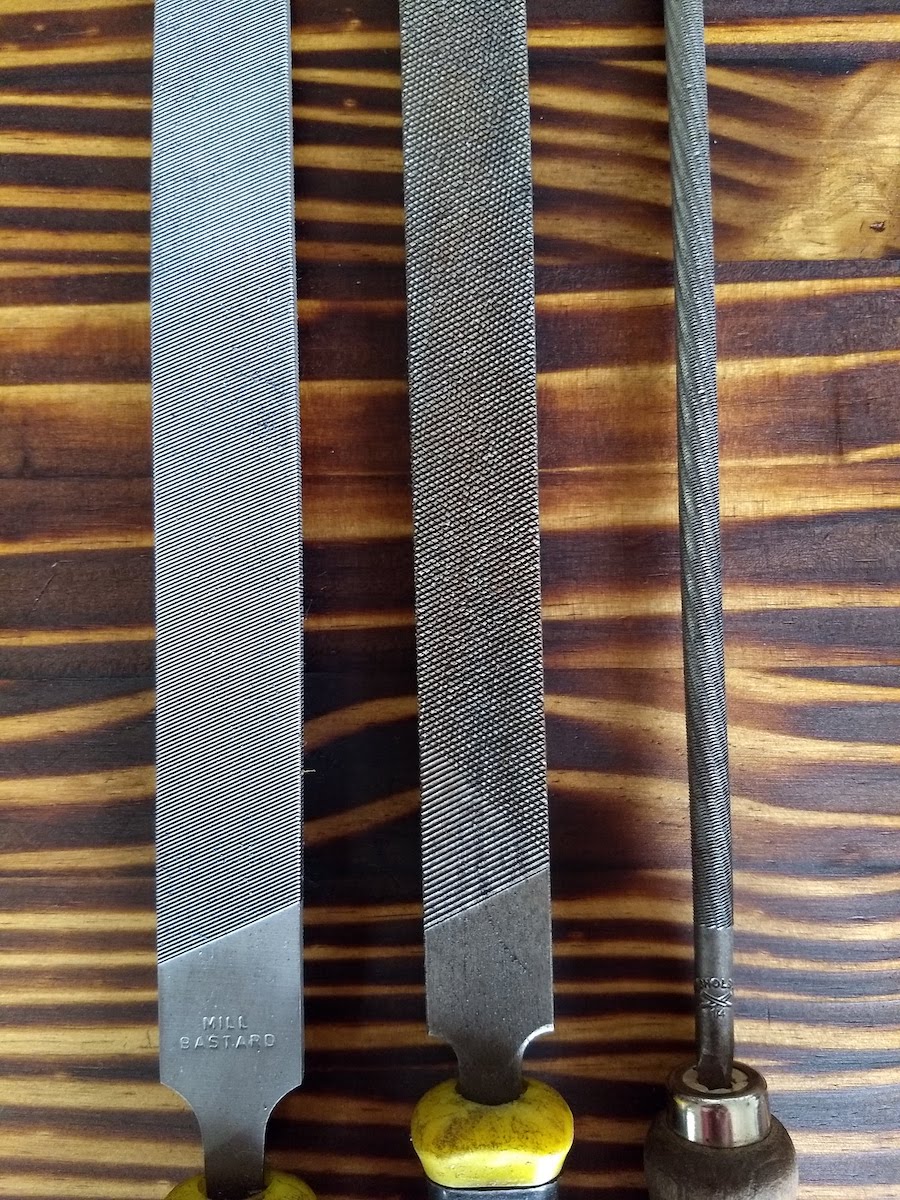
If you prefer to keep it very simple, I recommend three types of metal hand files:
- A coarse hand file to remove a lot of metal quickly.
- A medium to fine file to smooth out that rough work.
- A round file to work through curves without biting into your steel.
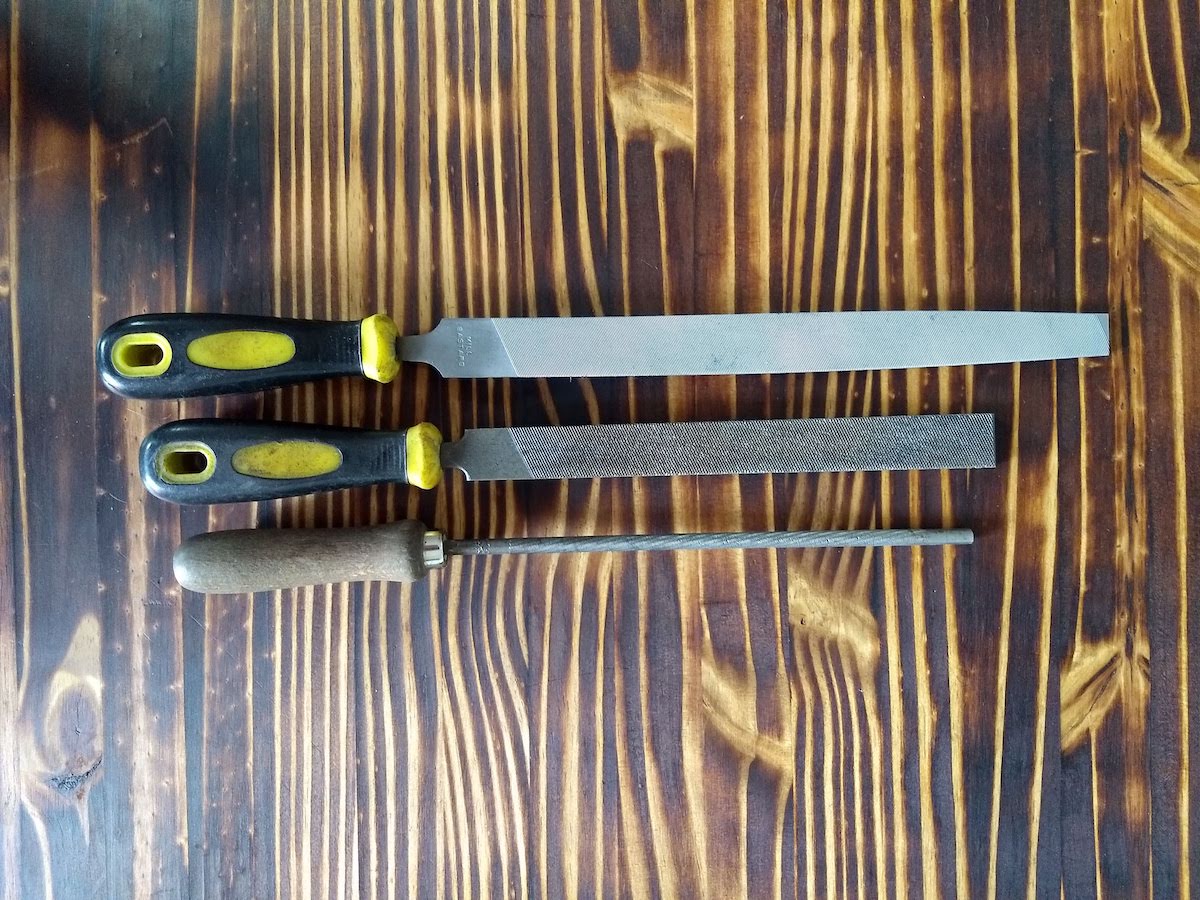
Since the bushcraft knife shape we’re using is mostly rectangular without a lot of curves, the coarse and fine hand files will do the job.
I recommendCrescent Nicholson.
The file set contains:
- Two 10″ files – One half-round coarse, one fine
- Two 8″ files – One coarse, one fine
- One 6″ slim taper file
3. A Heat Source for Hardening the Knife
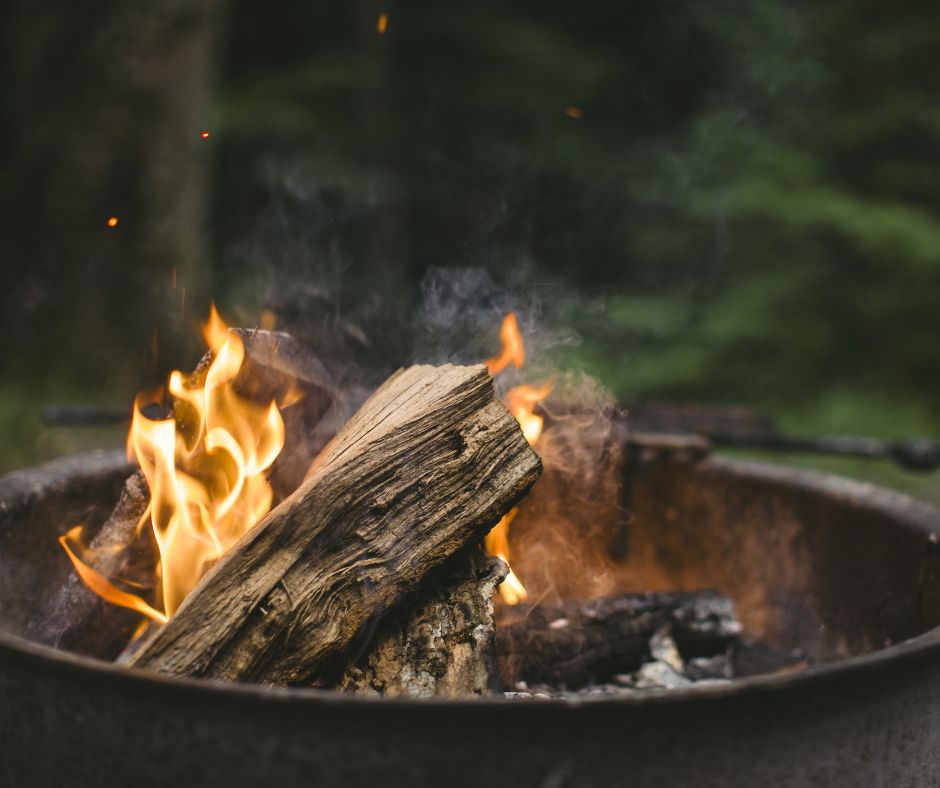
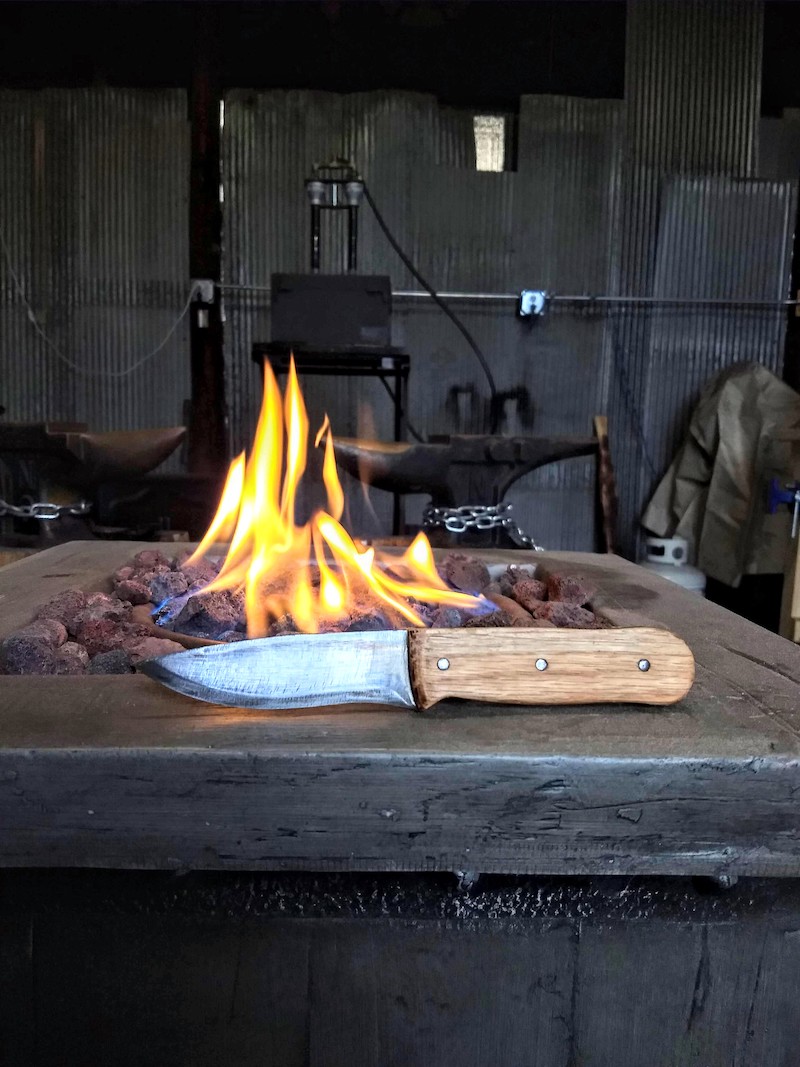
For the hardening half of the heat treating process, all you need is a fire hot enough to get the metal to around cherry-red to reddish-orange in color.
I’ll provide examples of this in the Heat Treating – Hardening section.
The reason the color of the metal is so important is that it lets us know visually that the knife is in the right state to be hardened.
We also use an old blacksmithing trick to confirm that it’s ready: magnets.
By testing the knife with a magnet, we can quickly see whether it is still attractive or not.
If we have reached our critical temperature, the metal will lose its magnetism.
At this point we can quench it to “lock it in.”
We will cover how to heat treat 1084 in detail a little later.
What Can We Use as a Heat Source?
- Backyard bonfire
- Charcoal grill with an additional forced air source.
- This can be as simple as a hairdryer or mattress pump.
- Oxy-acetylene torch. This option can be tricky to get a uniform heat on your blade. They are also not cheap.
*When in doubt, go for the simplest, most familiar option.
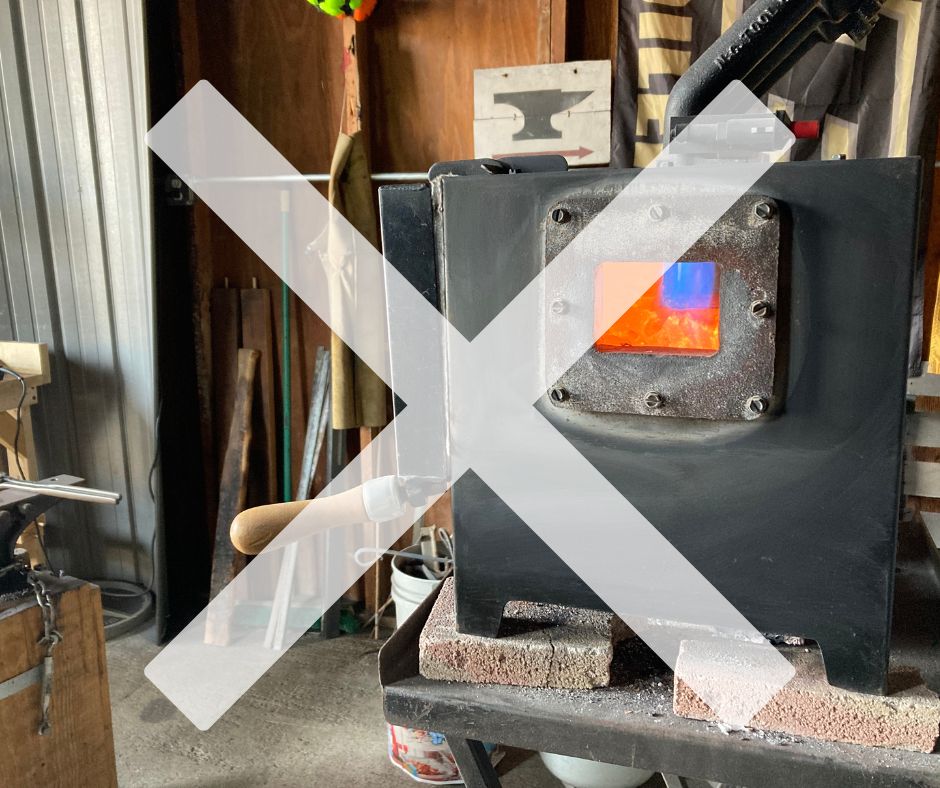
4. Oven or Propane Torch for Tempering the Knife
After hardening the blade, we can adjust that hardness through tempering.
This is important with edged tools like knives.
If a knife is only hardened, you risk it being too brittle. It is more likely to chip or break.
By tempering, we relieve some of that brittleness and give the knife a longer life.
You don’t need an expensive tempering oven for this part of the process.
Two Options for Tempering
Oven
Using our 1084 steel, we can look up the proper tempering temperature and find that your oven at home will get hot enough.
Typically, for tempering knife steels, you only need to reach 375 to 450 depending on the steel.
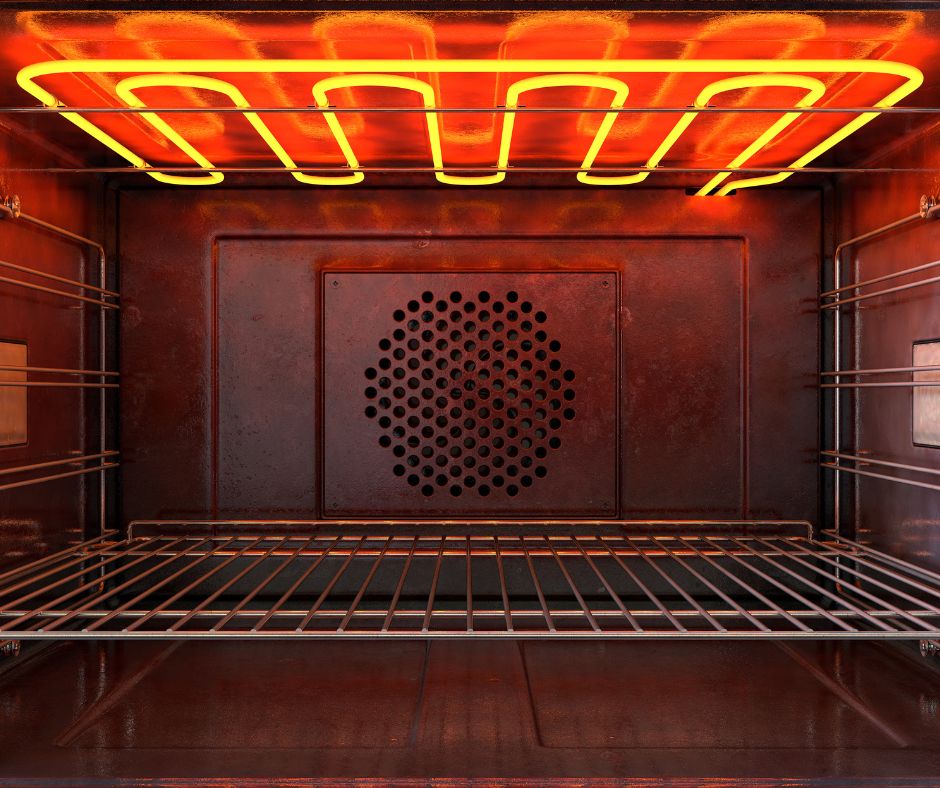
That’s the same range that most food is cooked in the oven.
When you use an oven, the key is to have a separate temperature gauge to be sure the temperature stays consistent throughout the process.
A meat thermometer inside the oven will do the trick.
*If you don’t want to risk smoking up your kitchen, you can use a toaster oven in your garage or workshop.
Torch Tempering
This is the method we will be using for our first knife.
If you have access to a propane torch and have some patience, this is a handy skill to know.
We’ll get deeper into it in the Tempering section.
5. A Container for Quenching and Quenching Oil
Carbon steel knives are typically quenched in oil so we’ll need a good, solid container to hold it.
In the shop, I have a steel washtub that I use for quenching. It has a mixture of vegetable and canola oil in it.
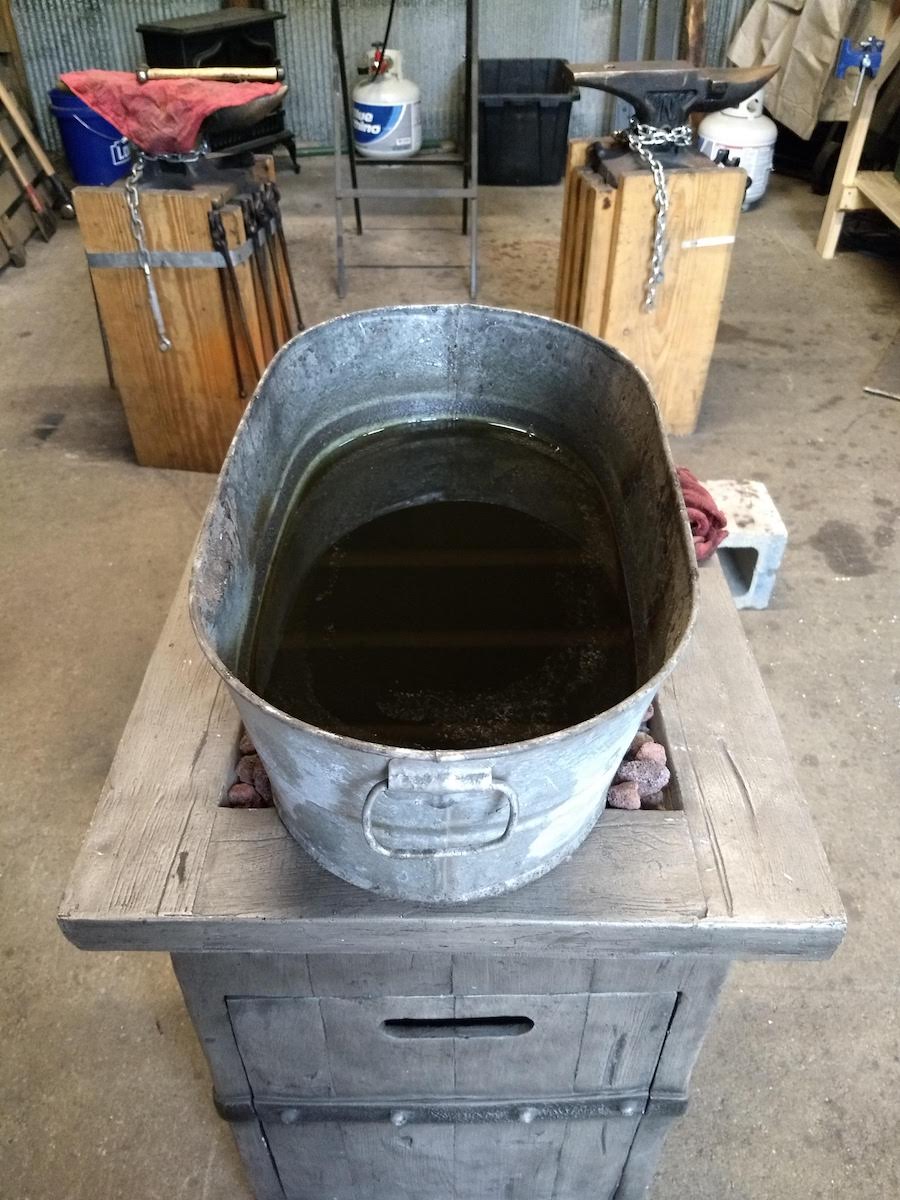
The length of the tub allows for edge quenching (which we’ll be covering) and the depth keeps us from touching the bottom with the blade during the quench.
(We’ll talk more about what types of oil to use for quenching later.)
You may have see people use PVC pipe as quench tubes for longer blades like swords.
For health reasons, I try to avoid the risk of burning plastics if I can.
6. PPE – Safety Glasses and Hearing Protection
PPE (personal protective equipment) is entirely up to you, but I highly recommend wearing safety glasses throughout the knife making process.
I wear mine every time I’m in the shop and I’ve still had to visit my eye doctor more times than I’d like.
Depending on the tool you’re using to shape and cut your steel, I would also recommend hearing protection.
Good, Affordable PPE
I stock clear safety glasses from 3M in my shop for classes. They cost less than $10 and can save your eyesight.
I also use two types of hearing protection:
- Over-the-ear muffs from 3M
- Moldex ear plugs
Ear muffs are easier to put on and remove than ear plugs. However, when they’re properly used ear plugs have a higher decibel protection rating.
7. Hand Files
We discussed using hand files for shaping the steel, but you will also need them for sharpening your knife’s edge.
I prefer them to power tools because they are easier to control. Power tools can quickly damage a project that you’ve invested hours in.
I use Crescent-Nicholson files most of the time, but also use MasterForce and Stanley brands.
Nicholson files can be pricey at $9-$12 per file. The $4-$6 MasterForce files at Menards or Stanley files from Lowe’s work just fine for what we’ll be doing.
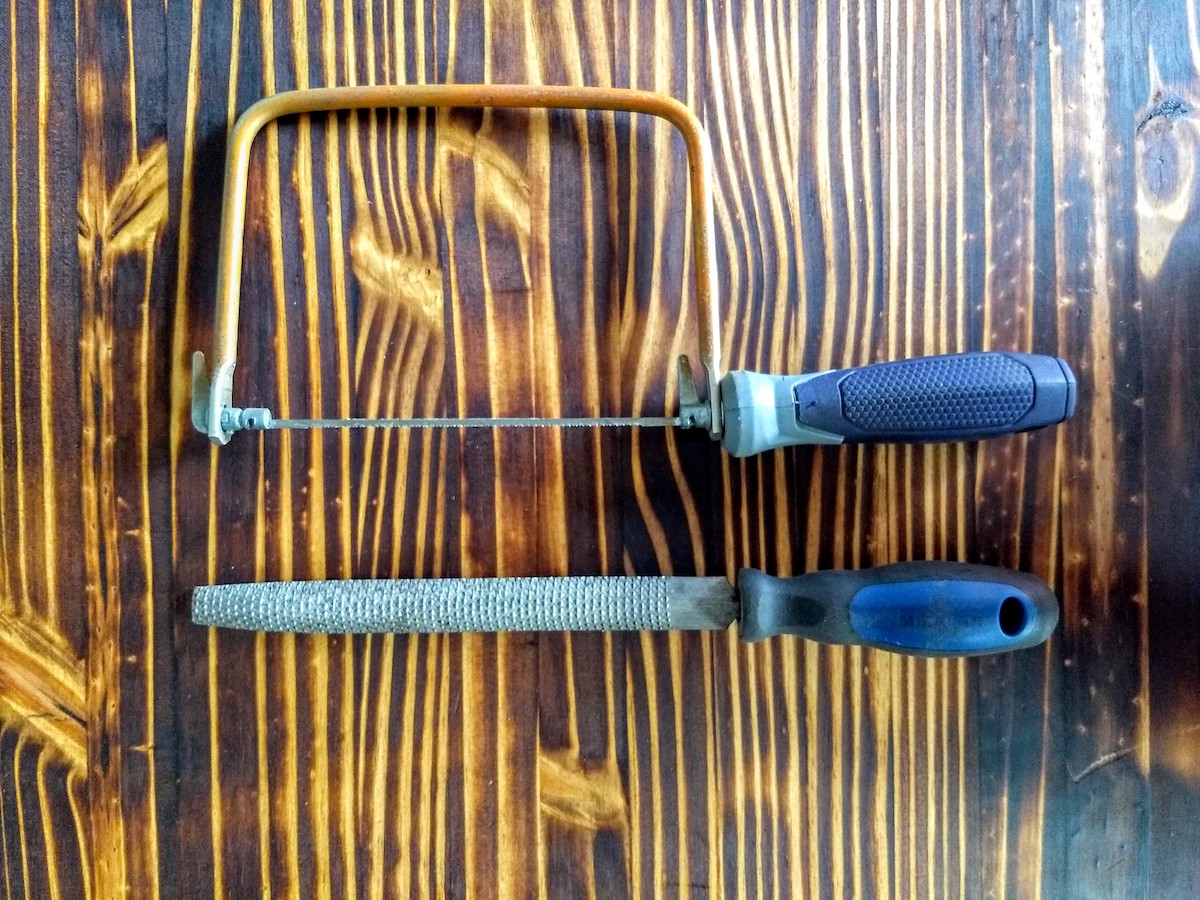
8. Woodworking Tools for Knife Making
In order to cut the handle sides or scales out of wood, I use a coping saw with fine teeth.
Even though it’s not a power tool, the coping saw cuts very quickly.
After the scales are cut out, I like to shape my handles with a wood rasp.
I use a fairly aggressive rasp remove wood quickly.
I’ll come back later with finer and finer grits of sandpaper to smooth out the roughness.
I recommend:
- Irwin coping saws.
- A 3-piece 8″ Wood Rasp Set.
- 120, 150, 180, 240 sandpaper grits.
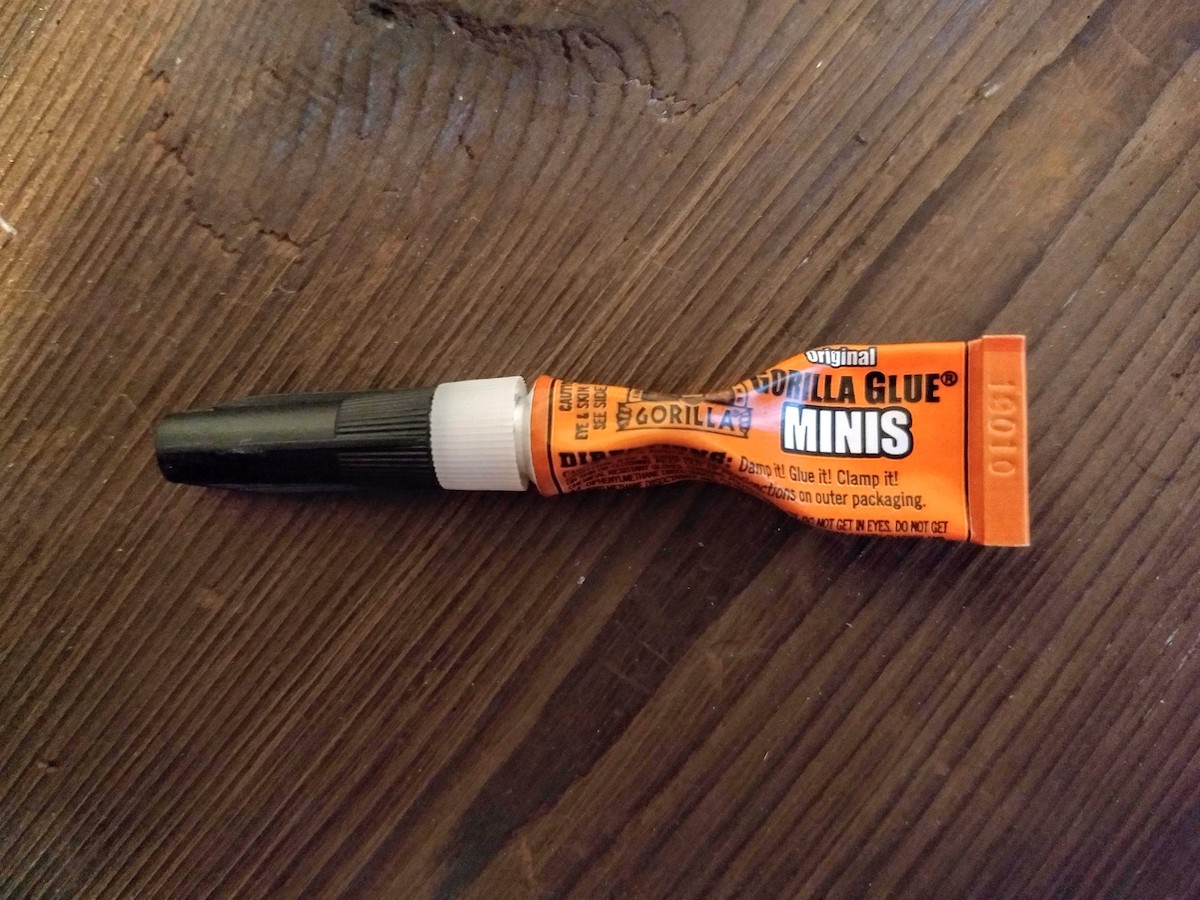
9. Epoxy for Attaching Knife Handles
I like to keep it pretty simple when it comes to epoxy.
Gorilla Glue makes some great adhesives that will hold up for a long, long time.
You can go with 2-part epoxy or clear Gorilla Glue mini tubes.
We won’t need much to stick the wood to our steel.
10. Clamps to Hold it all Together
We’ll need to securely clamp the wooden handle scales while the epoxy sets.
You can do this with a bench vise if you have one or you can use a set of C clamps.
Depending on the length of your knife handle, you will want to use at least two clamps.
For our first knife, we will only need two to four. The clamps shown below were purchased at Menards.
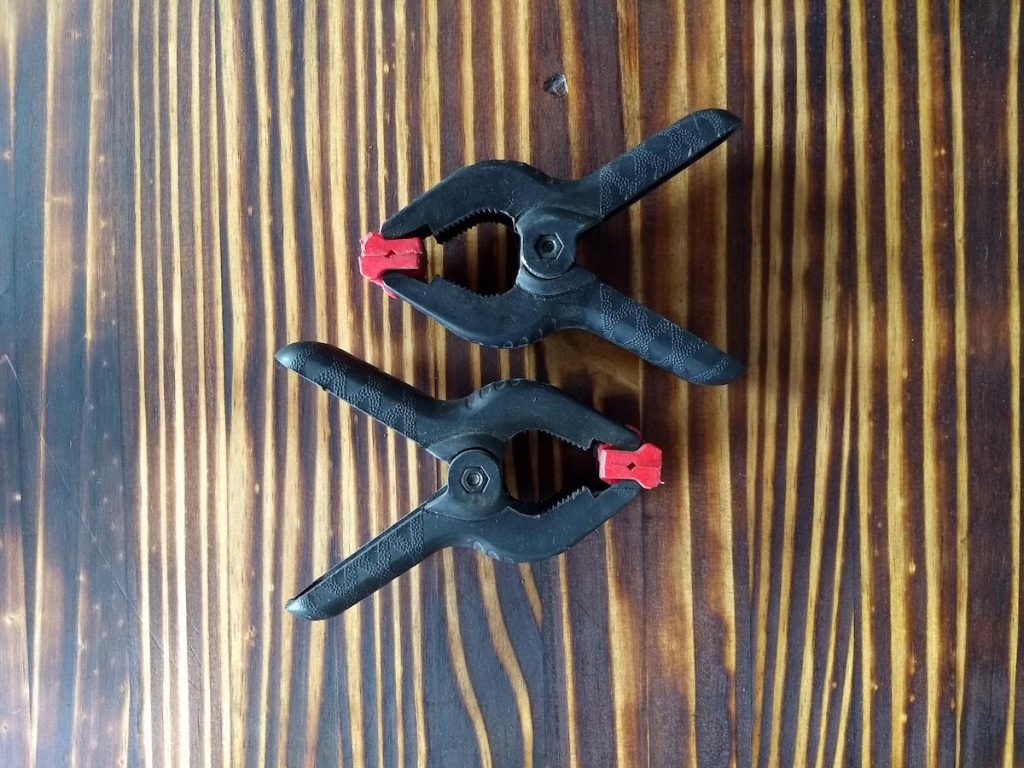
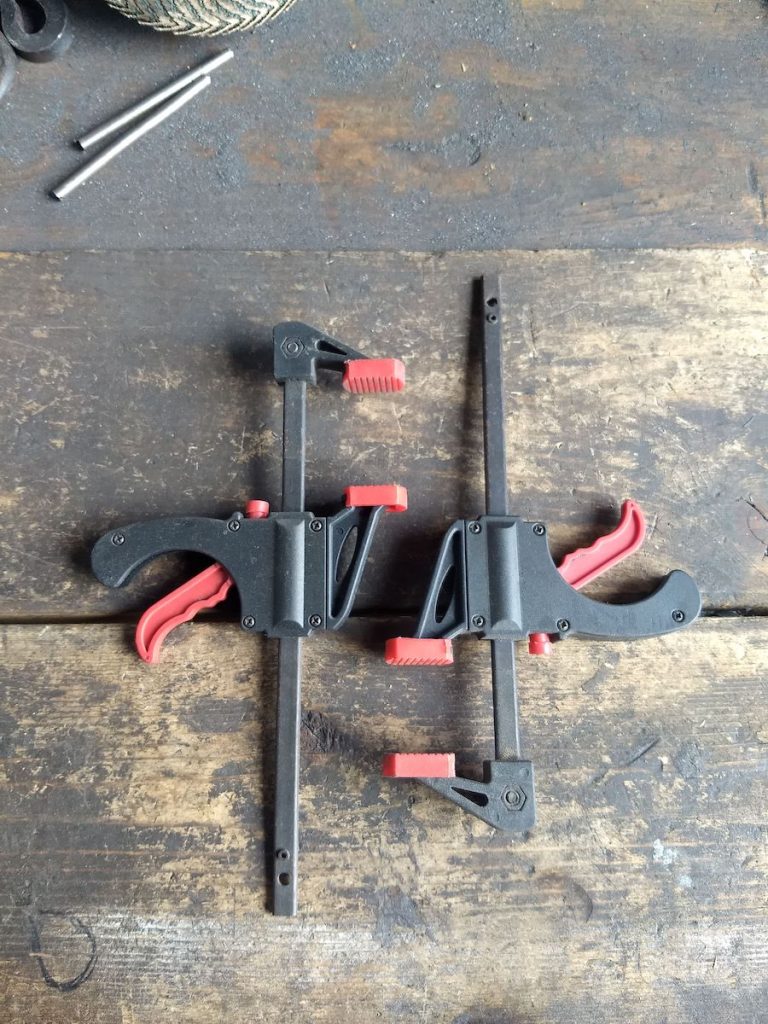
If you don’t already have clamps, I also recommend this 4-Pack of Irwin Quick-Grip Clamps.
Get Your Tools Together Because…
Grinding and Shaping your knife is next!