How Much Do Anvils Cost in 2026?
[Updated on March 29, 2026]
Anvils usually go up in value over time. The same anvils I purchased in 2015 and 2016 for $280 a piece, now go for $460 – $490.
These anvils, made by NC Tool Company, are high quality, lighter weight anvils that sit at the bottom of the mid-range for anvil price.
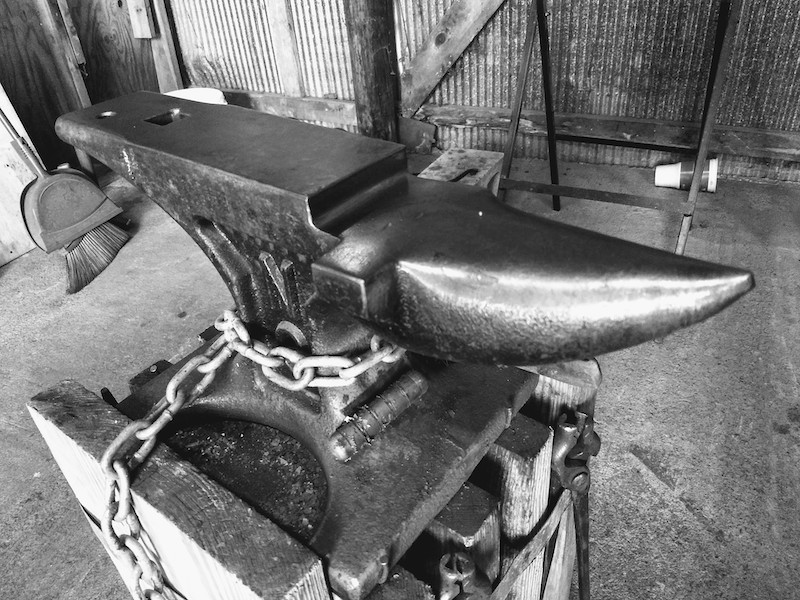
In fact, their low cost and durability were the main factors in my decision to purchase two of them.
I use them weekly in classes at the shop and for forging ironwork for customers.
Anvil Prices Range from $70 up to $2575
At the low end, you’re going to find cast iron anvils from Harbor Freight and similar companies.
At the top end, you’ll find small anvil manufacturers like Nimba Anvils in Port Townsend, Washington.
In the middle, you will find some great anvils from Atlas Knife and Tool, NC Tool Company, Texas Farrier Supply, and others.
Why the big difference in price?
- Quality
- Size
- Production capabilities
Lightweight Harbor Freight anvils are mass-produced with heavy machinery.
Atlas Knife and Tool has a line of anvil designs that they subcontract to a factory in small batches.
Nimba Anvils are made one at a time in a small production facility.
*Prices come down when manufacturing can be done at-scale.
Should You Buy An Anvil On Facebook Marketplace?
Short answer: It depends.
In the current climate, blacksmithing is enjoying an upswing in popularity.
When a hobby or craft becomes popular, prices for associated items go up.
As prices go up, more sellers enter the market. Some of these sellers have dubious assets and even more dubious motives.
There may be some decent options on Marketplace, but proceed with caution.
There are better options than Facebook for purchasing anvils: Directly from a manufacturer or from respected retailers.
To Avoid Overpaying for Anvils Online:
- Follow a rule of $7 per pound or less. For a 70-pound anvil, you want to pay under $490. You can absolutely do this. Atlas Knife and Tool sells their 69 pound Alec Anvil for under $300.
- Adjust price based on the Age and Condition of the anvil.
- If it’s old, but severely damaged (missing the tip of the horn, for example), I’m dropping my offer by a few hundred.
- Some old anvils are worth the price based on their historic value alone.
- Vet the seller as much as possible. Do they know what they’re selling?
- Ask an expert: browncountyforge@gmail.com. It never hurts to ask someone with more experience.
- Consider buying from reputable dealers like Centaur Forge, NC Tool Company, or Blacksmith’s Depot.
An Anvil is an Investment
An investment is an asset that appreciates in value over time.
Anvils do this in a couple ways:
- The older they are and the better shape they’re in, the more valuable they’ll be.
- Their value increases the more you use them and the better you get at blacksmithing.
You don’t need to spend more than a few hundred on an anvil.
The anvils I use today each cost $280. They have made thousands of projects to date and generated a full-time income for over 9 years.
That’s an amazing return on investment.
Conclusion: Anvil Costs Range, But Have a Sweet Spot
Aim to spend at least $299 – $499 on your anvil. NC Tool Company’s 70-pound anvil is the one I recommend to students every week.
You can buy directly from NC Tool Company: nctoolco.com
Or from Centaur Forge: centaurforge.com
I also currently use the $299.99 Alec Anvil from Atlas: https://atlasknife.com/product/alec-anvil/
Want to Learn More About Blacksmithing?
I teach classes in Bloomington, Indiana and at client’s homes. Available by appointment.
For more information go to the Classes page.
Online blacksmithing classes are also available from world class instructors on the Online Classes page.